
In today's post, we will look at how to enable Audience Targeting for the Quick Links web part.
This is a very simple process, but it is highly significant as it ensures that specific links are visible only to a designated audience.
Step-by-Step Configuration
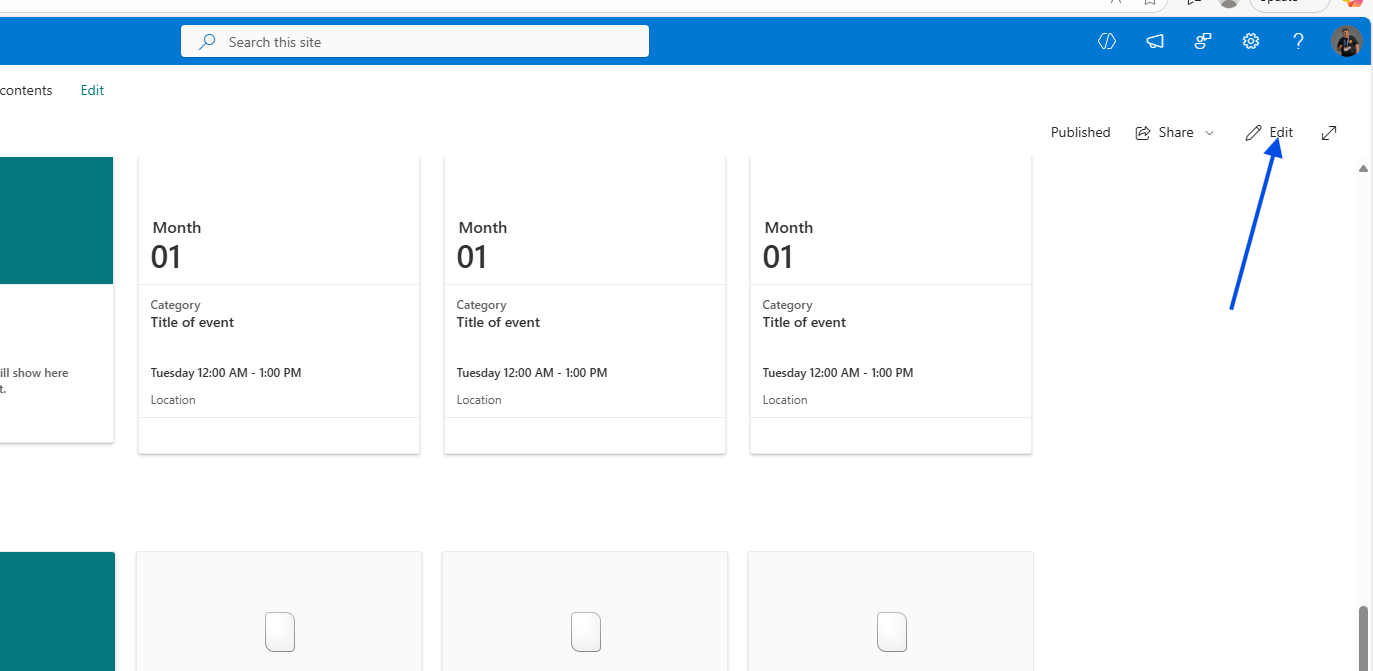
Edit the Page: First, click Edit on your SharePoint page to begin adding the web part.
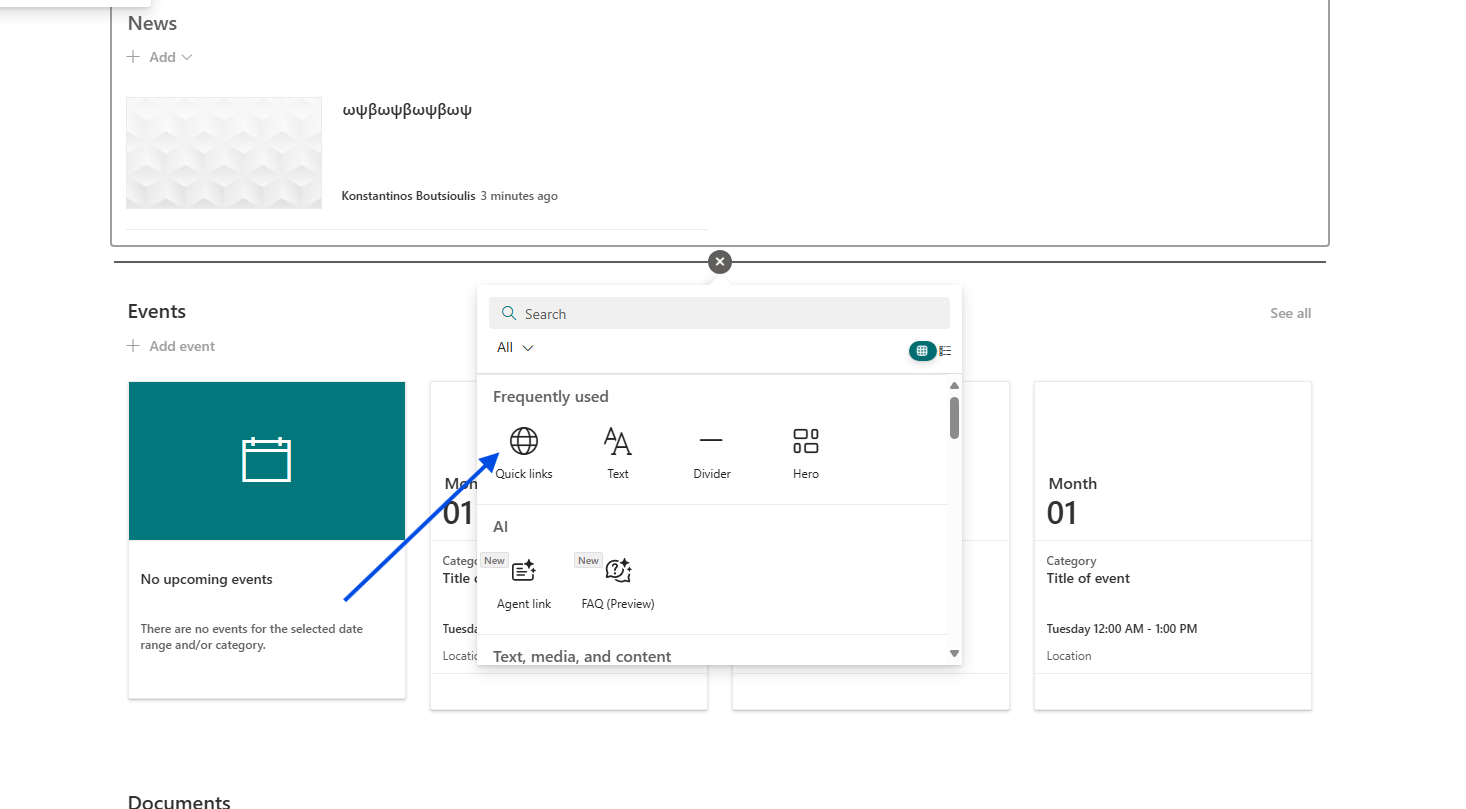
Add Quick Links: Click the + icon and add a new Quick Links web part to a section of your page.
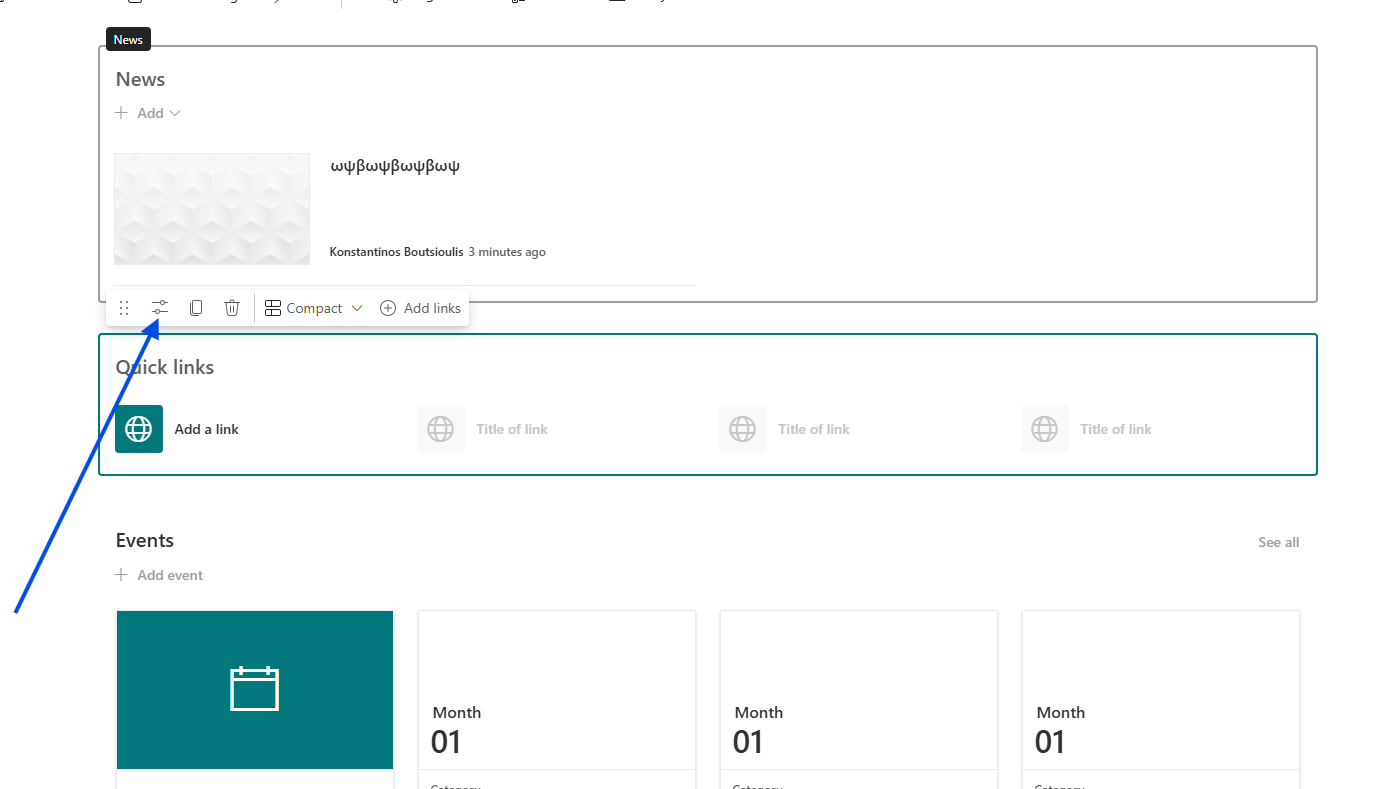
Access Web Part Settings: Select the web part and click the pencil icon (Edit web part) to open the settings.
Enable Targeting: In the right-hand sidebar, switch the Enable audience targeting toggle to On.
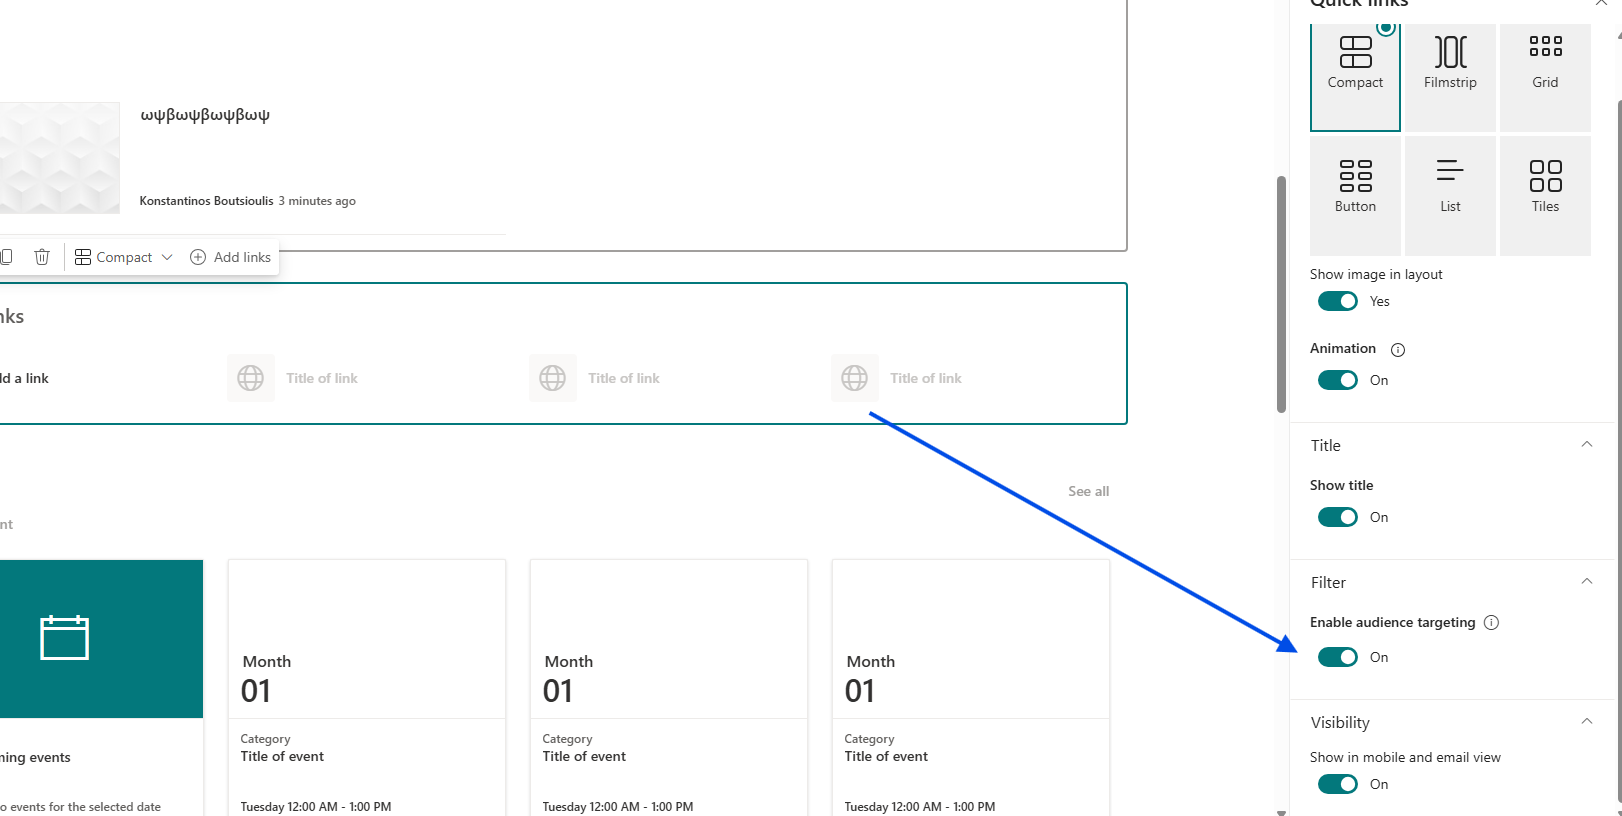
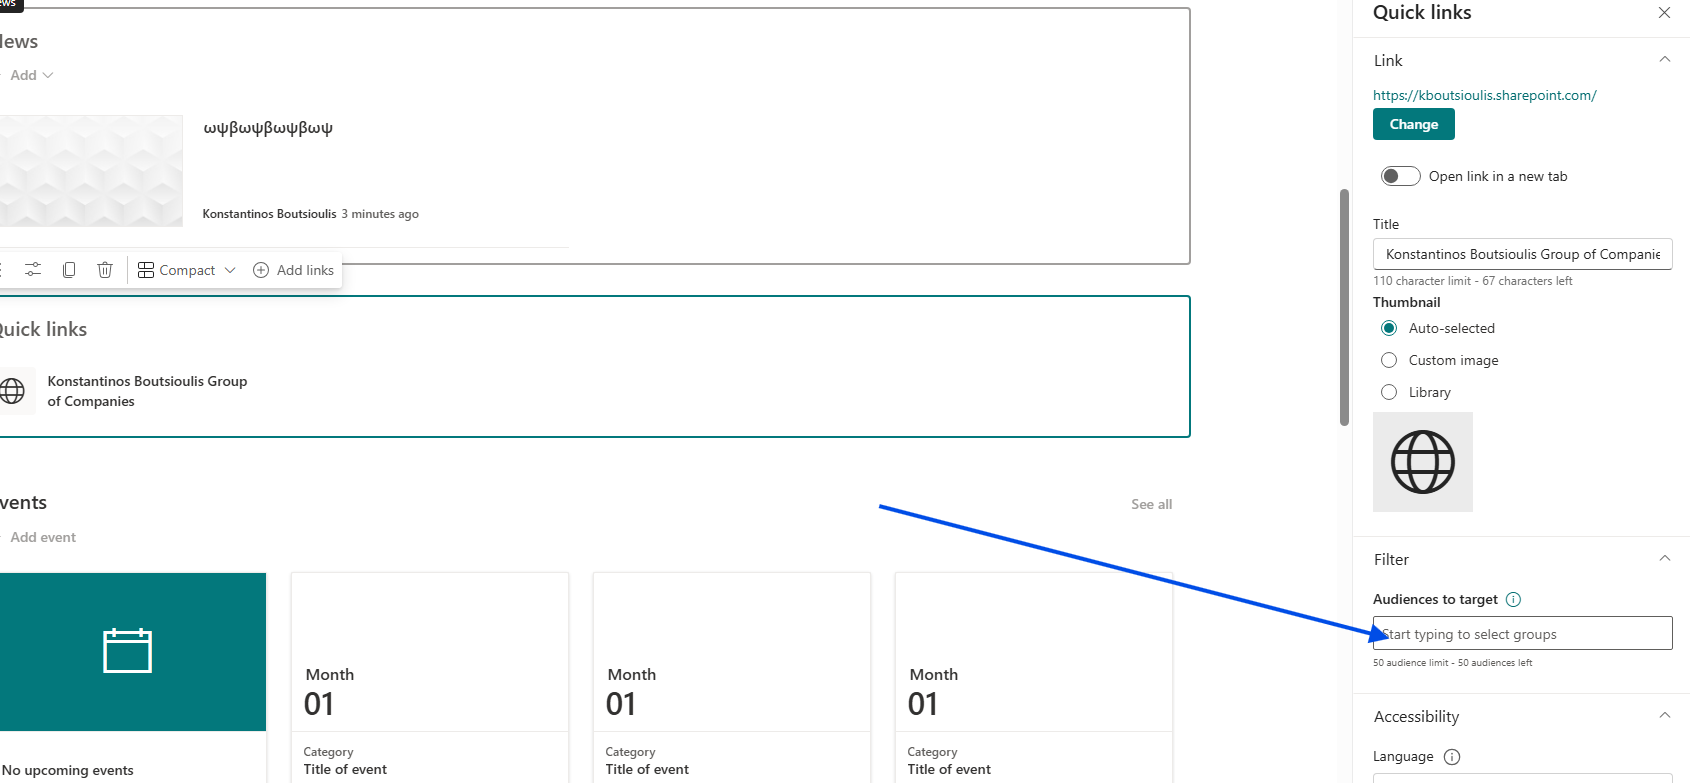
Target Specific Links: Now, when you create or edit an individual link within that web part, you will find the Audience to target field in its settings sidebar. Here, you can enter the group of your choice so that the link is visible only to that specific group of users.
Important Note on Security
It is important to note that Audience Targeting is not the same as Permissions. It does not grant or restrict access to the underlying page or resource; it simply controls whether the link is visible or hidden. Managing page permissions is a separate process.