In today’s post, we will see how we can back up a library and its contents from one SharePoint site to another SharePoint site that serves as a backup location.
First, we identify the library we want to keep as a backup.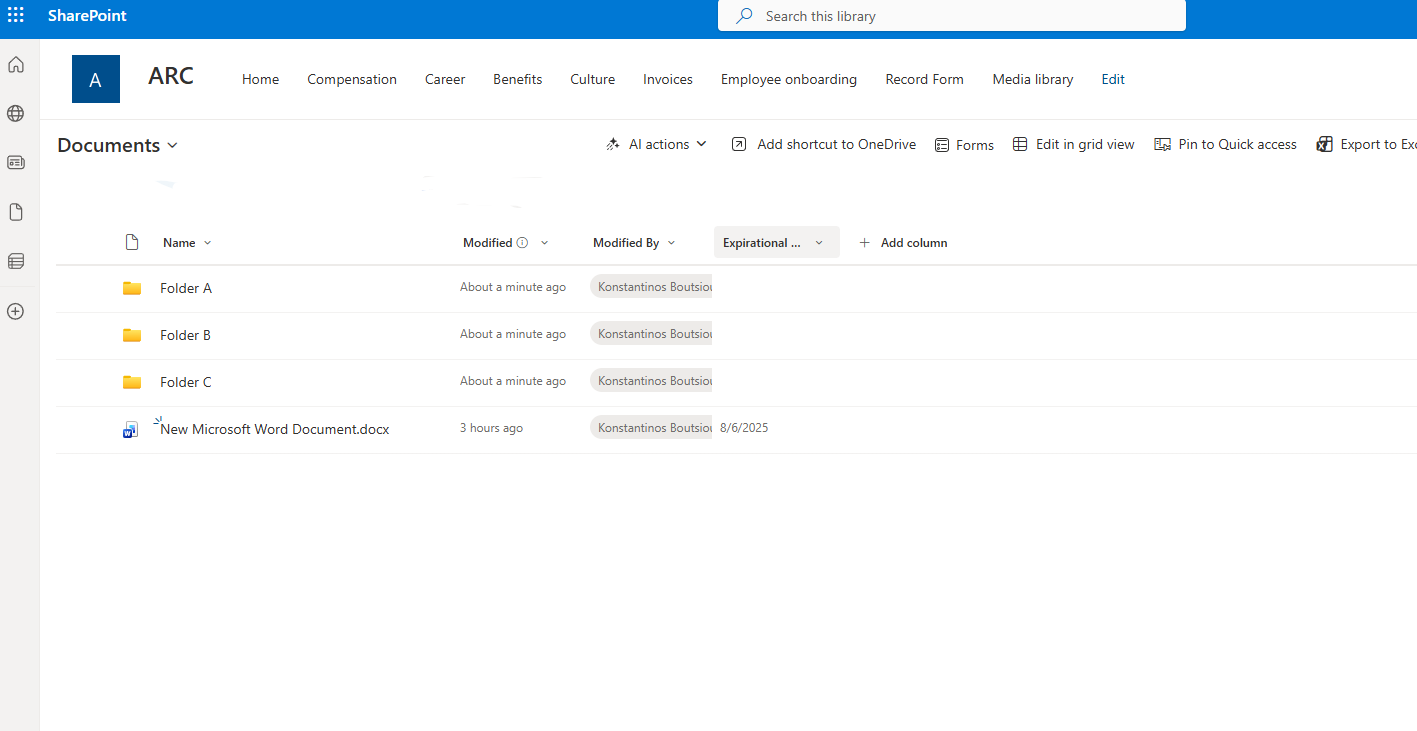
Then we go to the Power Automate home page and select Create.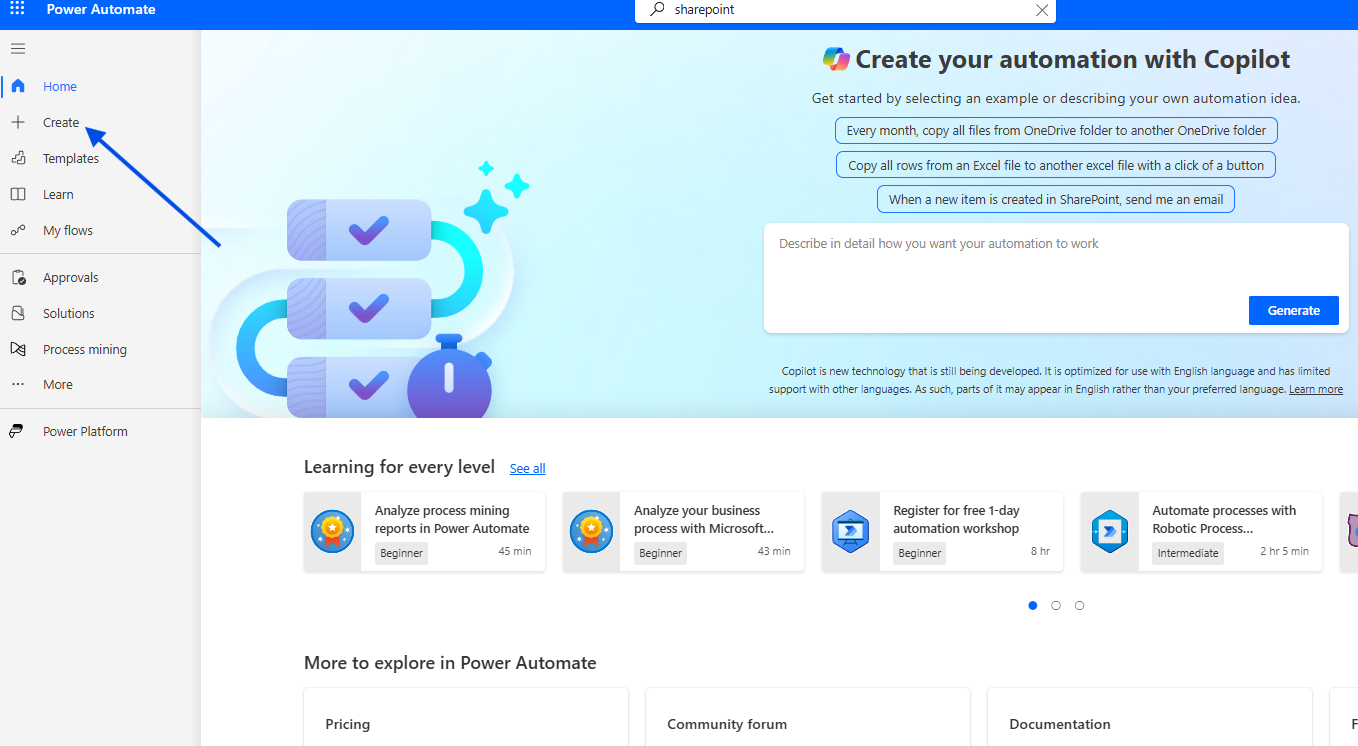
In the next step, we choose Instant cloud flow.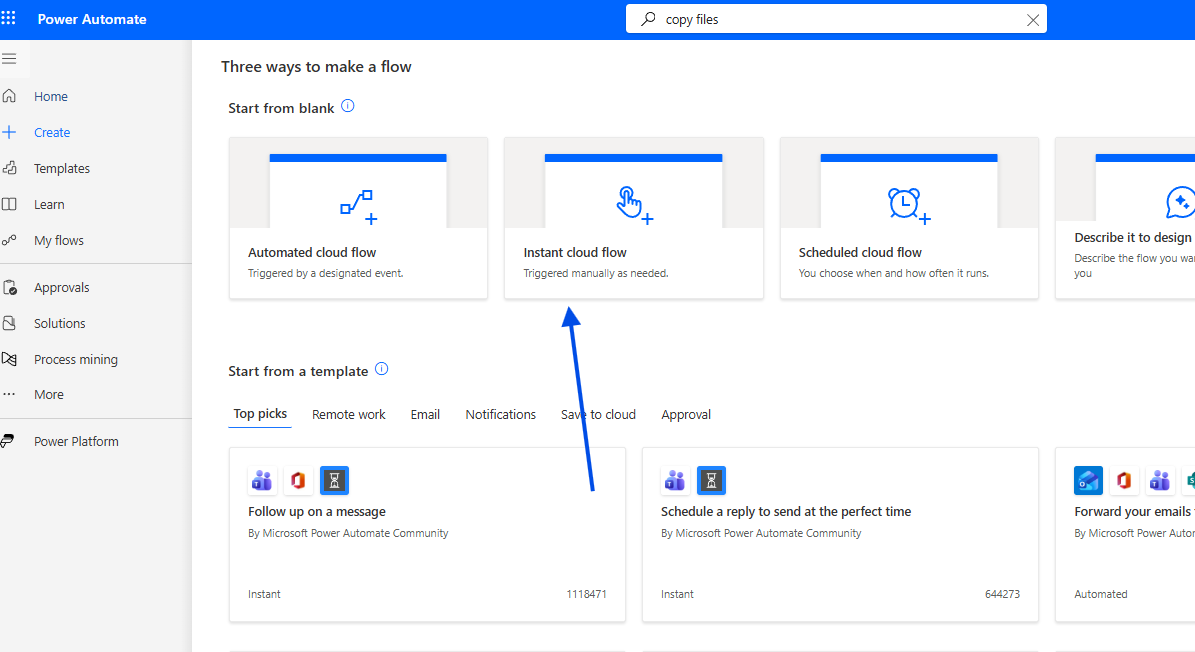
We give the automate a name and select Manually trigger a flow.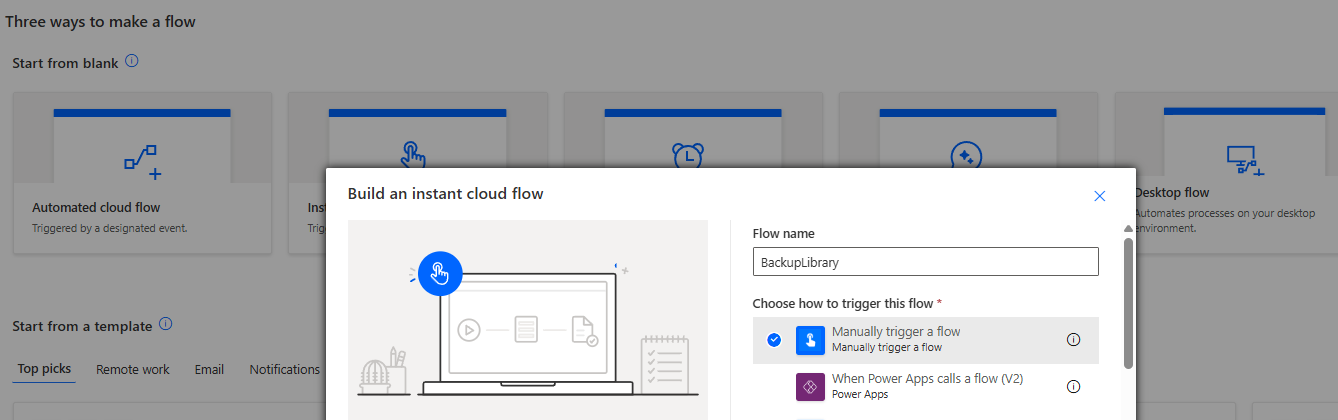
For the next action, we select Get items so we can retrieve all items from the source library.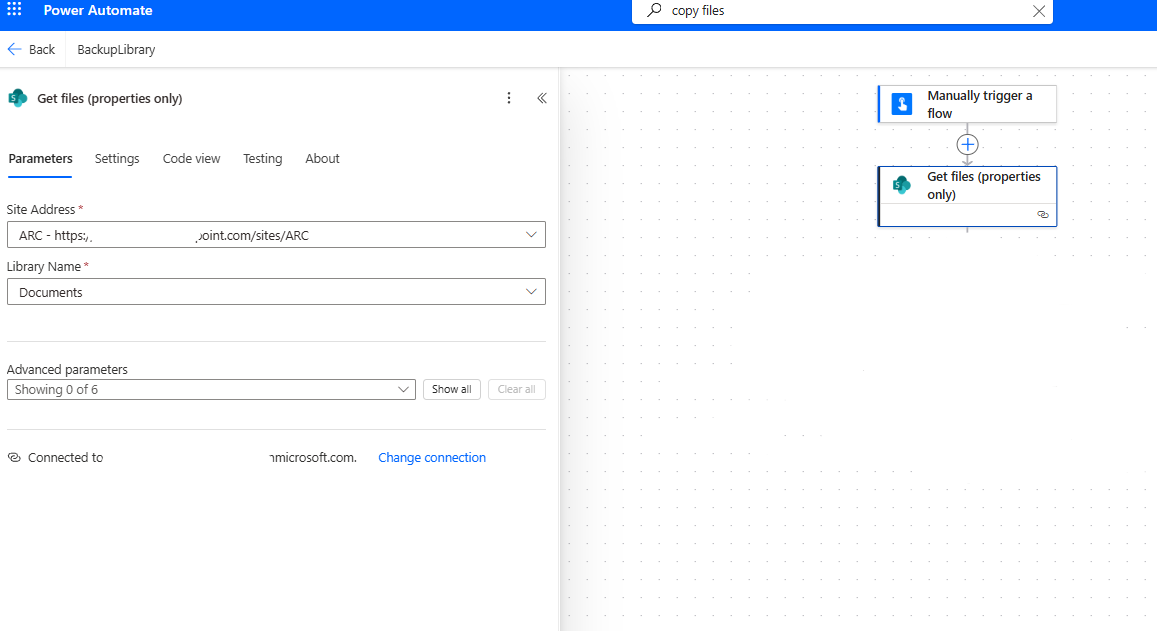
In the next step, we add a For each loop so that for every item retrieved by Get items, the file will be processed dynamically.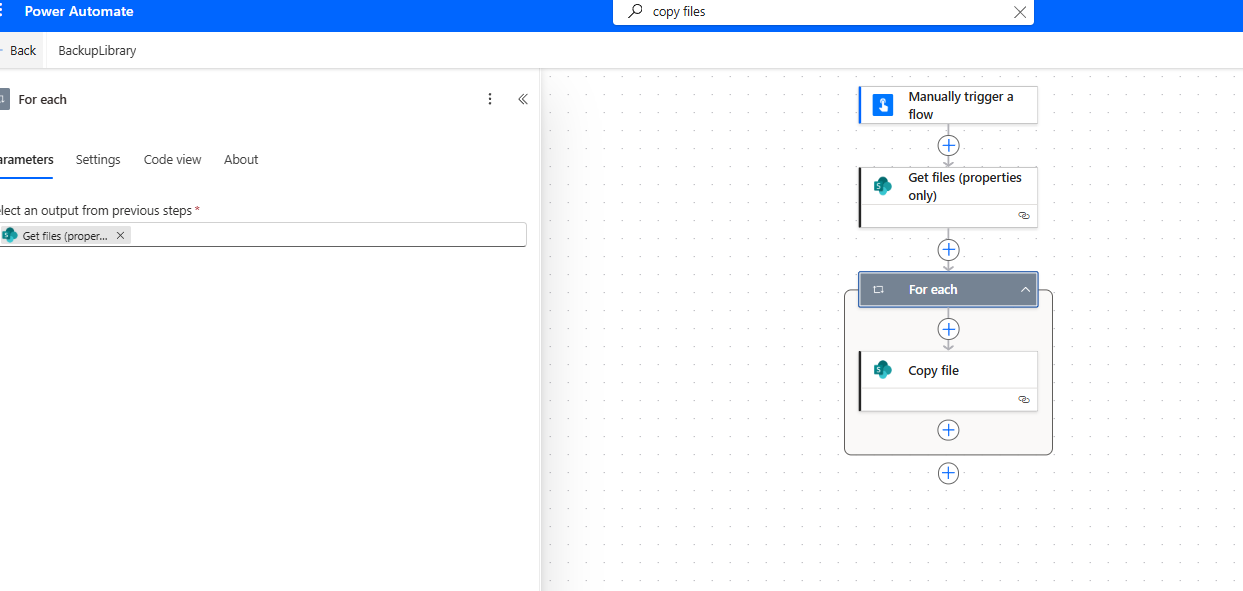
We then add the Copy file action, where we must specify the source library, the file path, and the file name with extension so that the automation can correctly identify each file type.
We also define the destination path.
Note: We select Replace so that existing files in the destination can be updated if changes have occurred.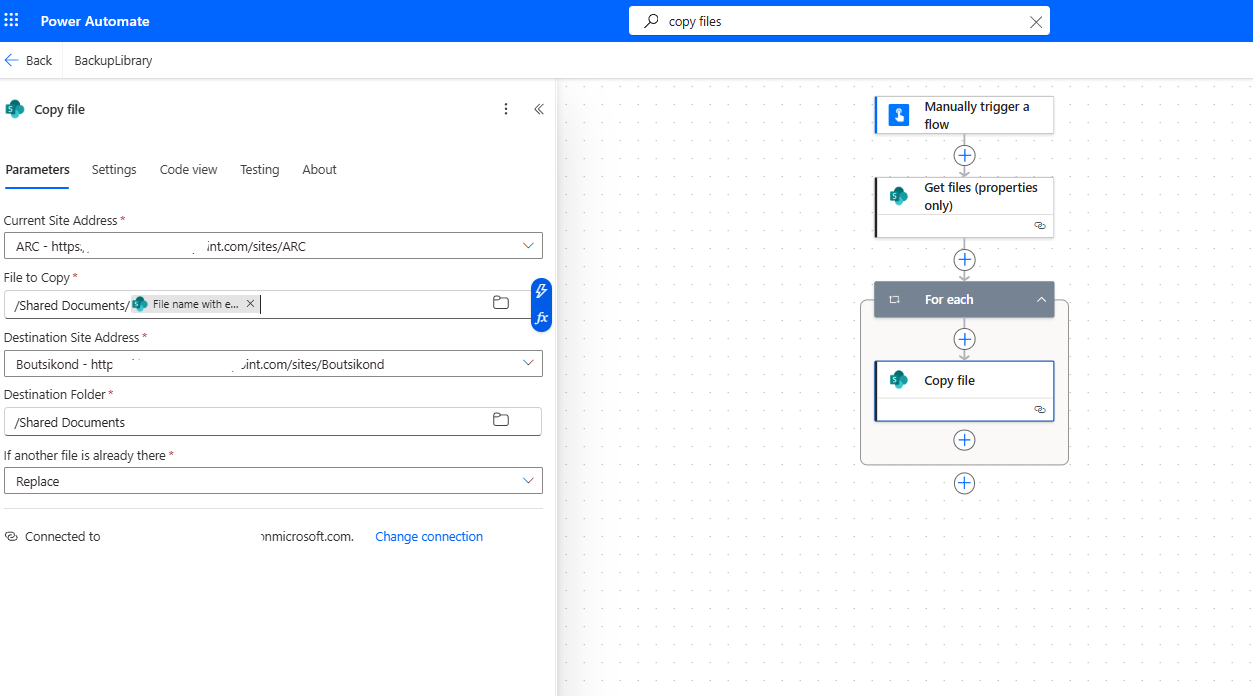
We save our flow.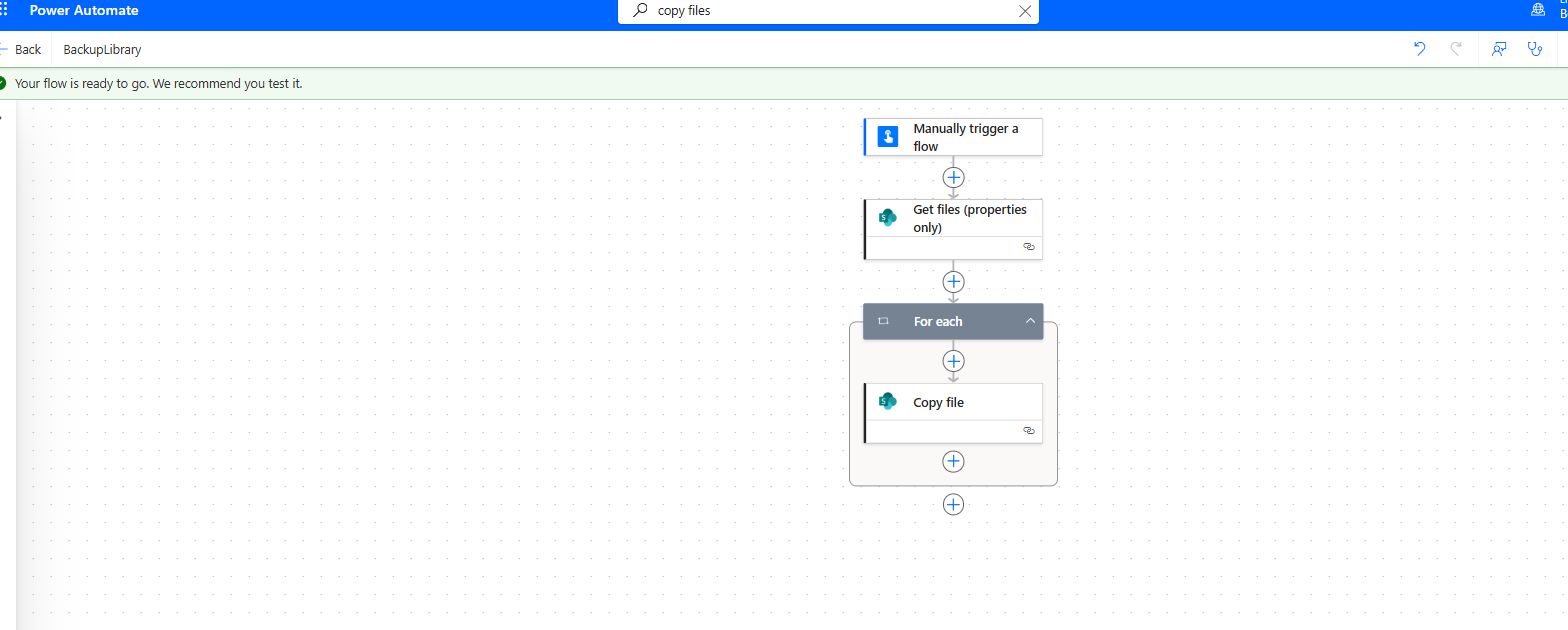
Then we choose to run a Manual test.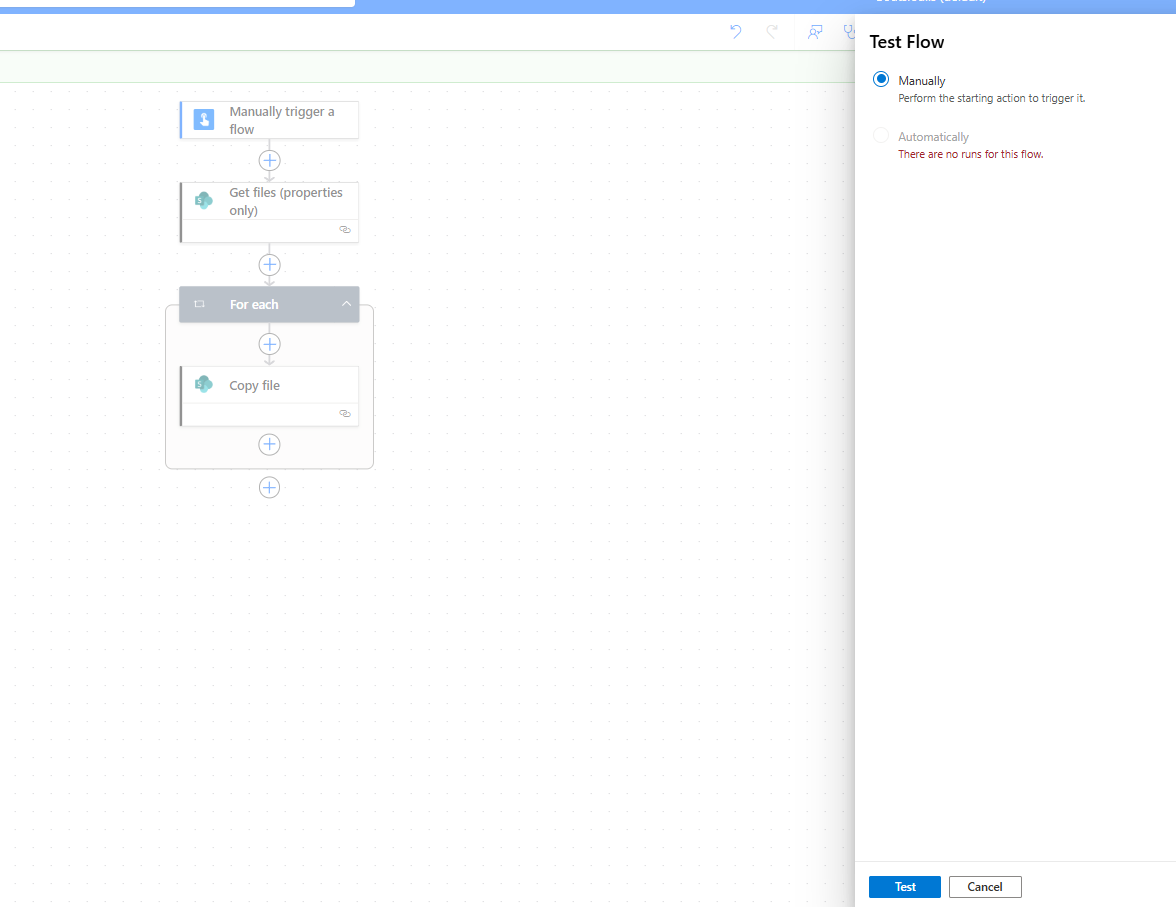
We select Run flow.
We confirm that the flow has executed.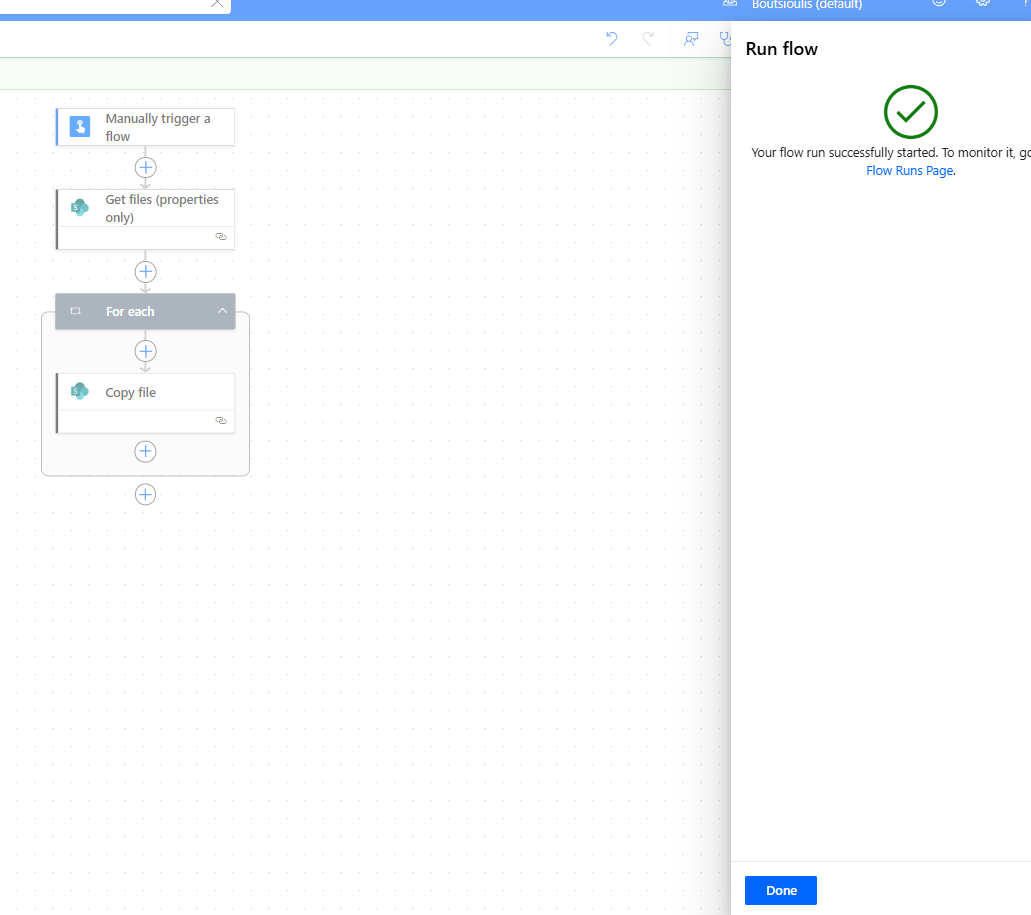
And indeed, the automation has run successfully without any issues.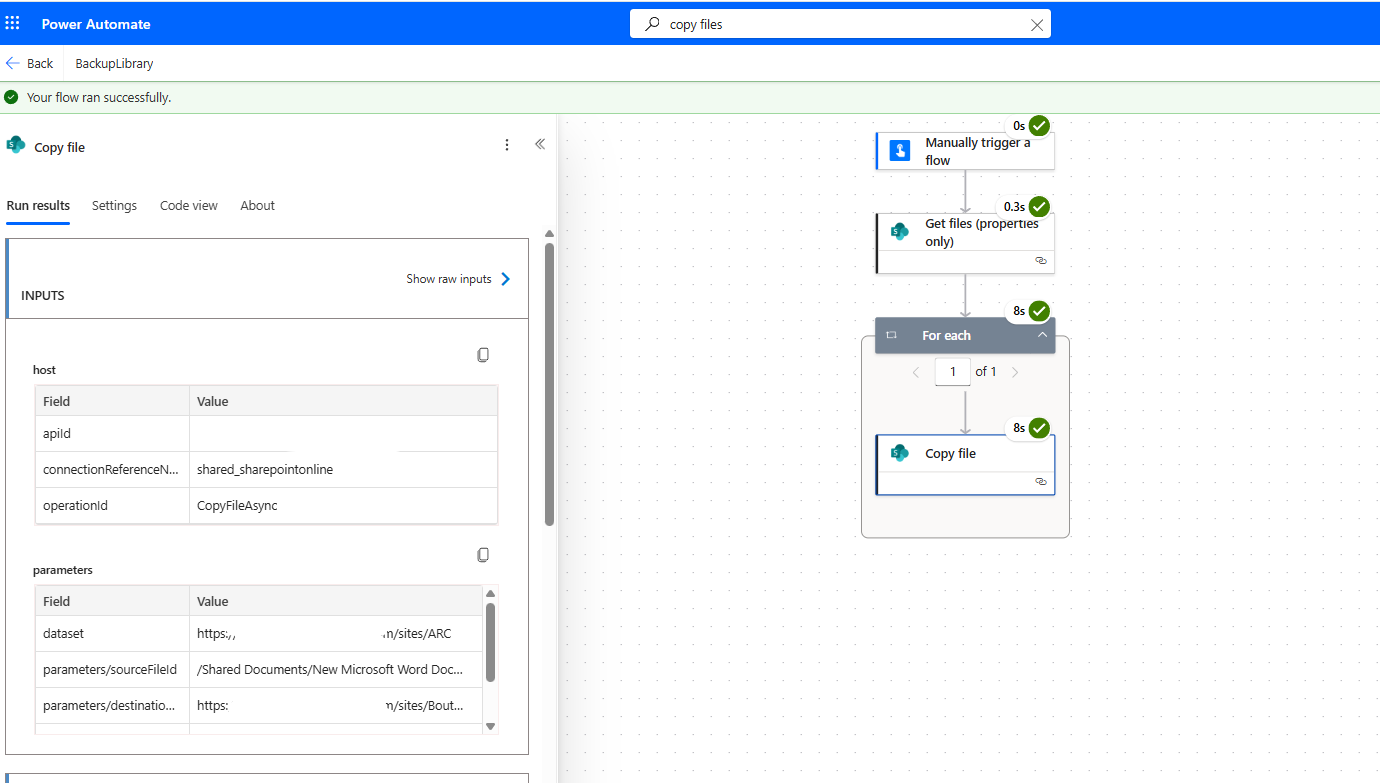
In the original library, we can see that we only have one Word file.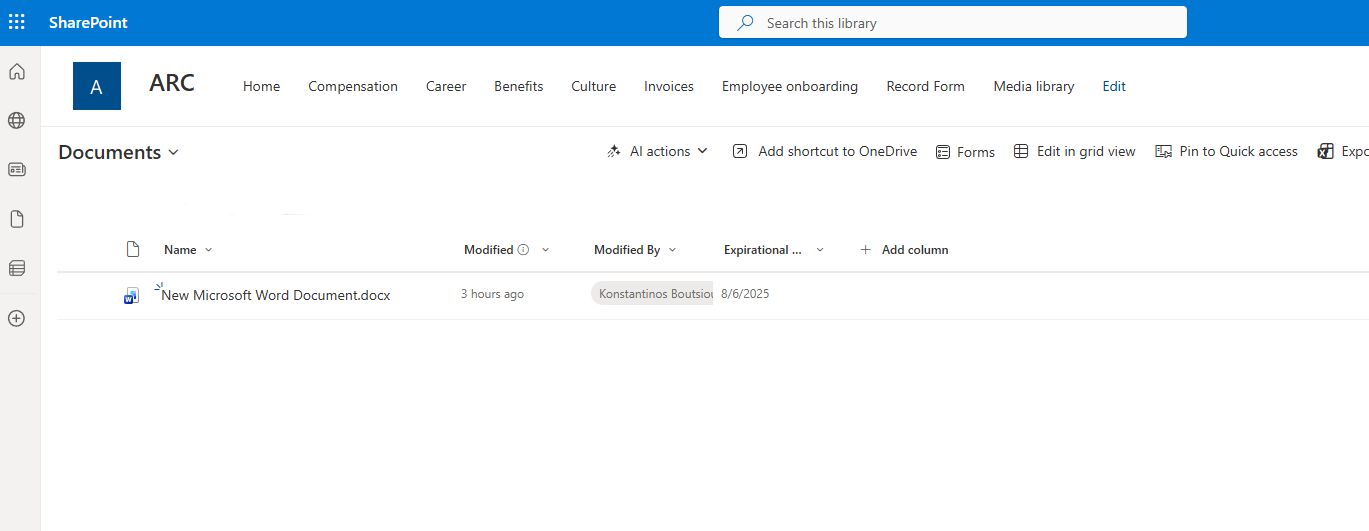
And in the destination library, we can see that this file has been copied.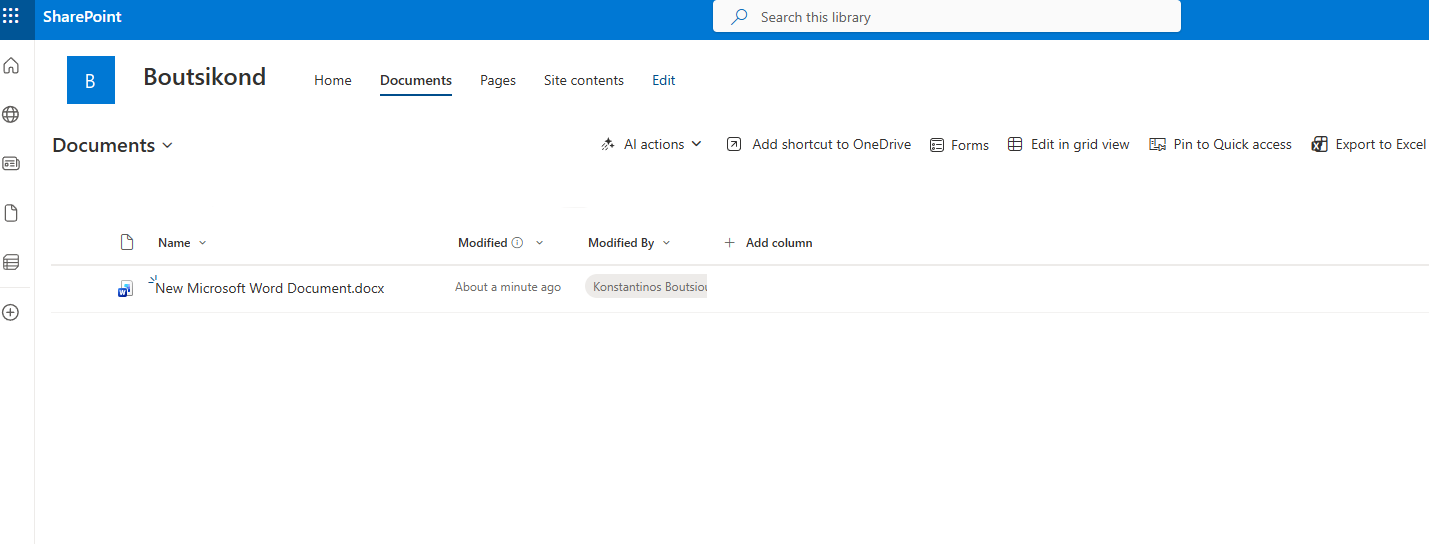
As we can see, you can keep the automation disabled and activate it manually whenever you want to perform a one‑time backup.