Today’s post will show how we can copy files from one SharePoint library to another using PnP.
This is a process that anyone can very easily perform directly through the end‑user experience in SharePoint Online.
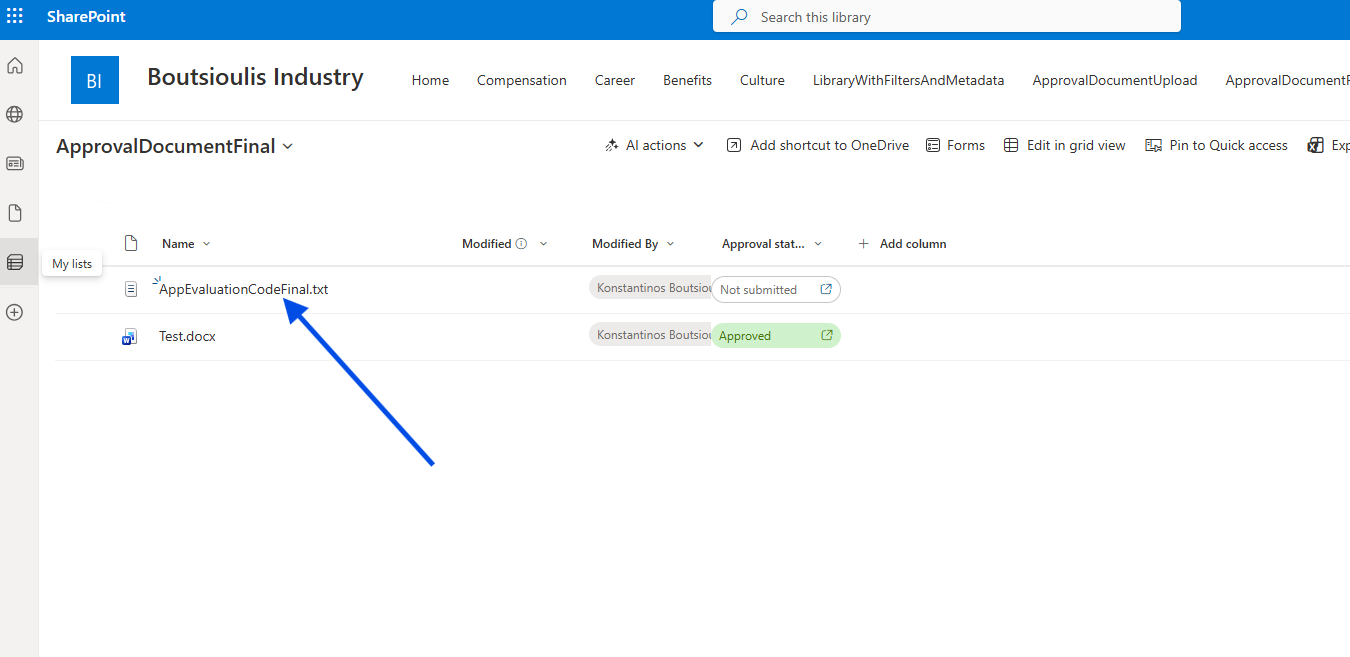
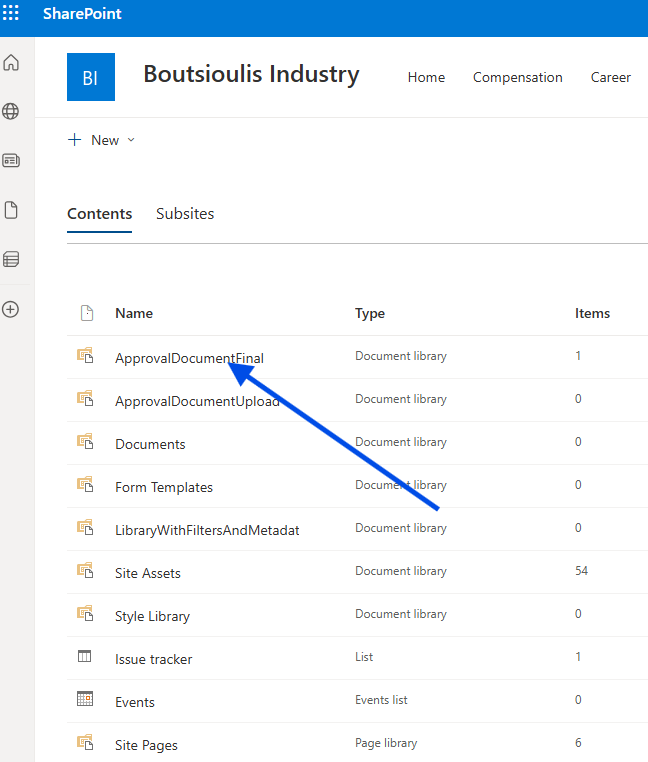
First, locate the page where the library you want to copy files from belongs.
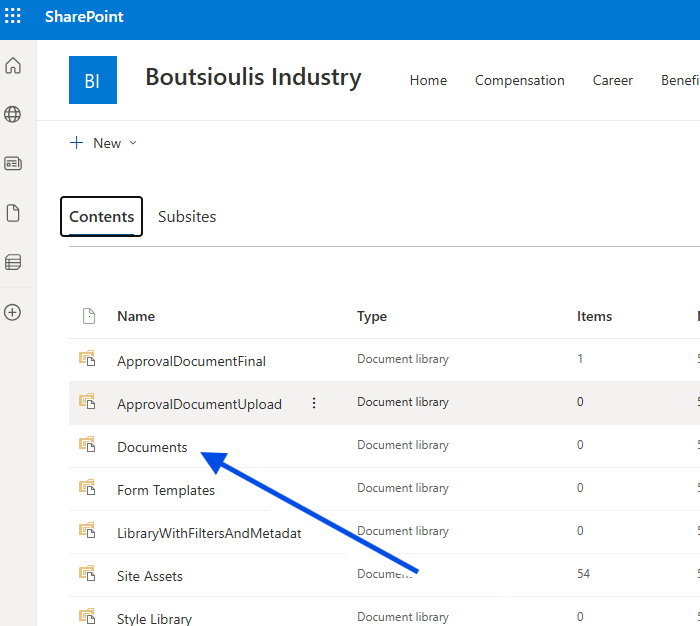
Next, locate the new site and the corresponding library where the files will be copied to.
Return to the original list and select the items.
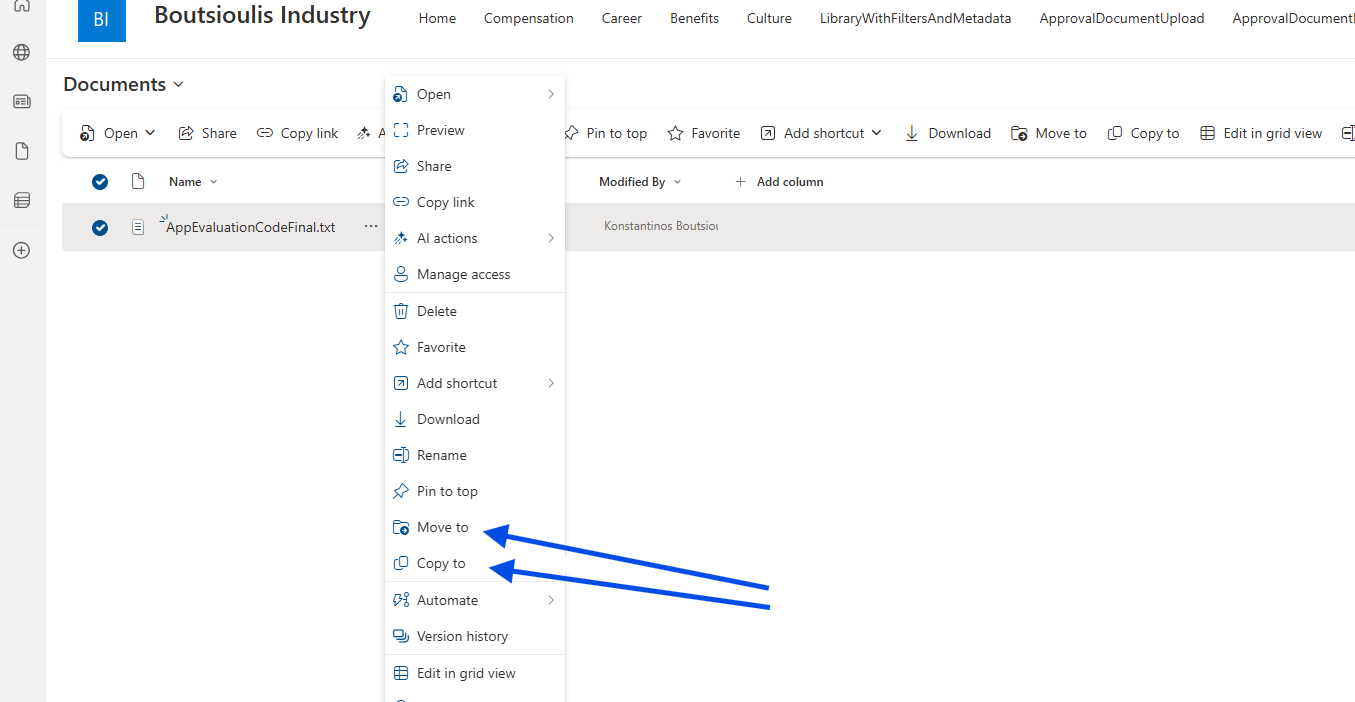
Then, from the three dots (ellipsis), choose Copy Items.

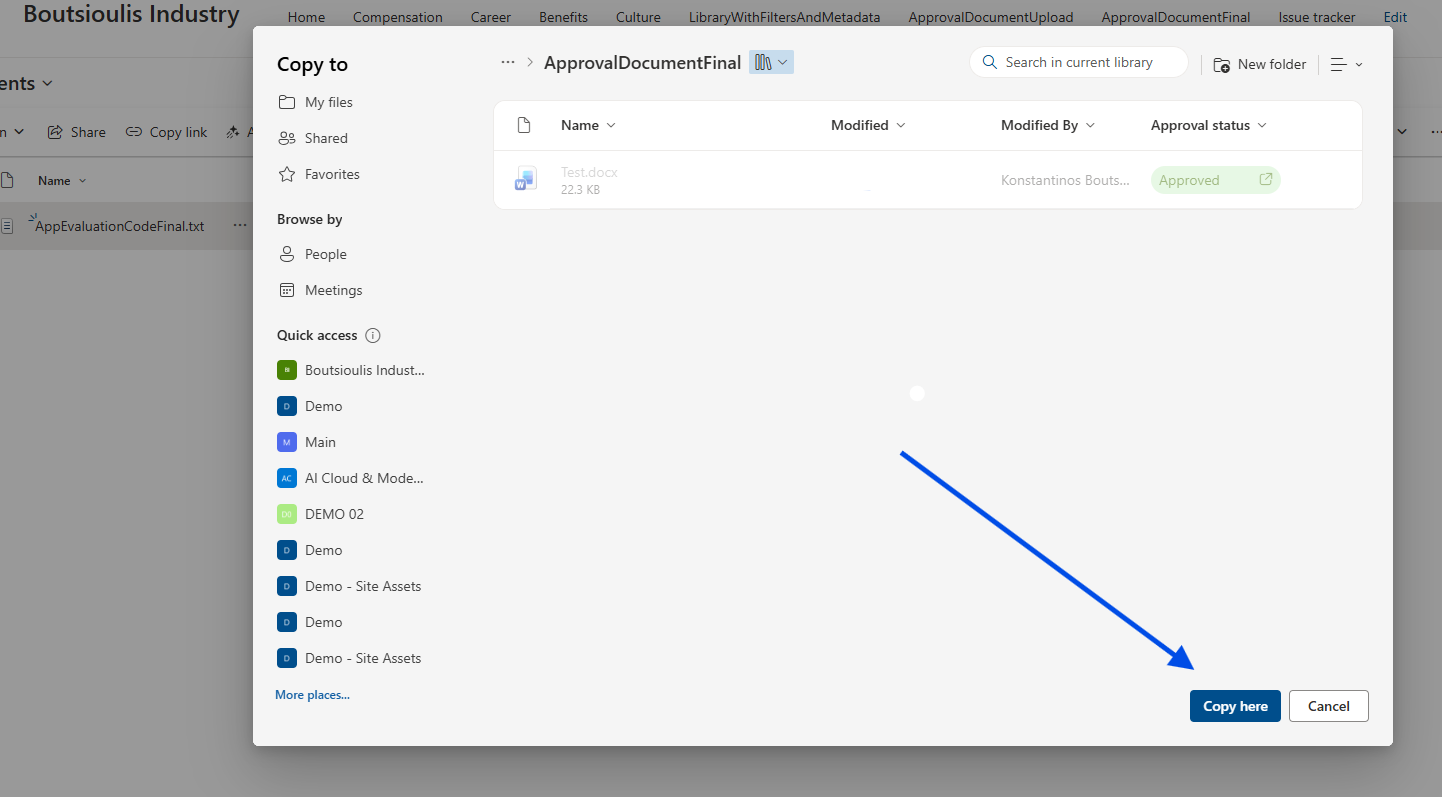
In the pop‑up window, locate the site and the corresponding library, and then select Copy.
Alternatively, you can use the following PowerShell script to perform the transfer in an automated way:
$siteUrl = "https://yourtenant.sharepoint.com/sites/your-site"$sourceLibUrl = "/sites/your-site/SourceLibrary" # source library url$targetLibUrl = "/sites/your-site/TargetLibrary" # target library url# Connection to SharePoint OnlineConnect-PnPOnline -Url $siteUrl -Interactive# Copy all folders and itemsWrite-Host "Starting copy from $sourceLibUrl to $targetLibUrl..." -ForegroundColor GreenCopy-PnPFile -SourceUrl $sourceLibUrl -TargetUrl $targetLibUrl -OverwriteCopy -ForceWrite-Host "Copy completed successfully!" -ForegroundColor Red