In today’s post, we will see how we can create a Communication-type SharePoint site using Power Automate and an HTTP Request.
First, we must be administrators with the required permissions to create a new site.
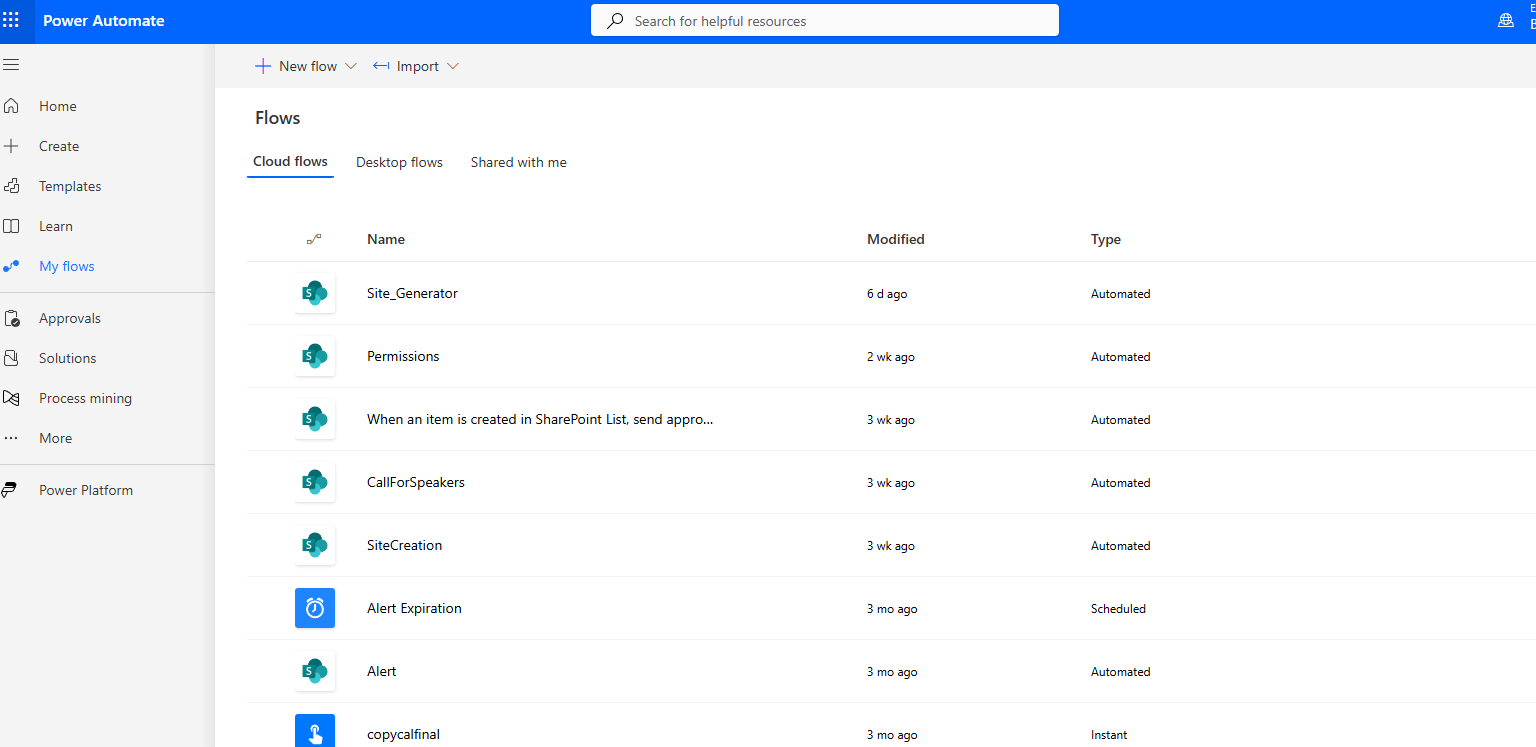
We need to log in to our active M365 subscription and then select Power Automate.
At the top left, select New Flow, and then choose Instant Cloud Flow.
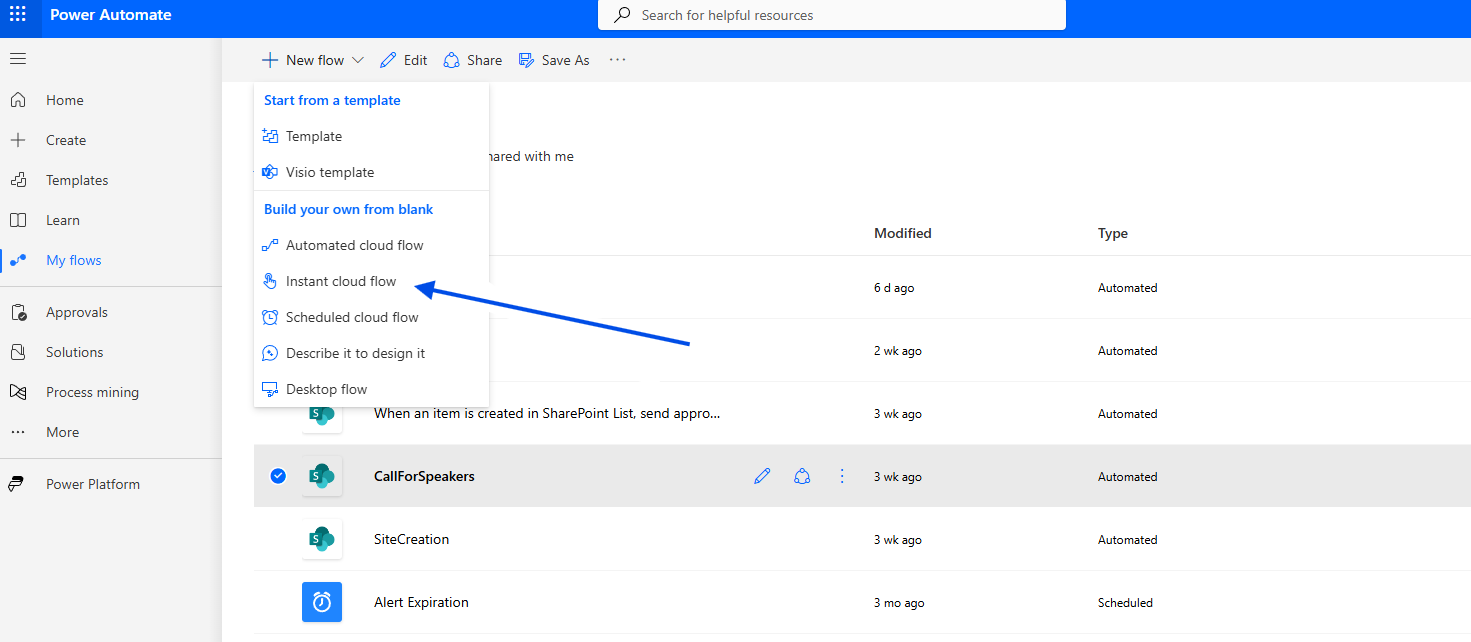
In the next step, enter a new name.

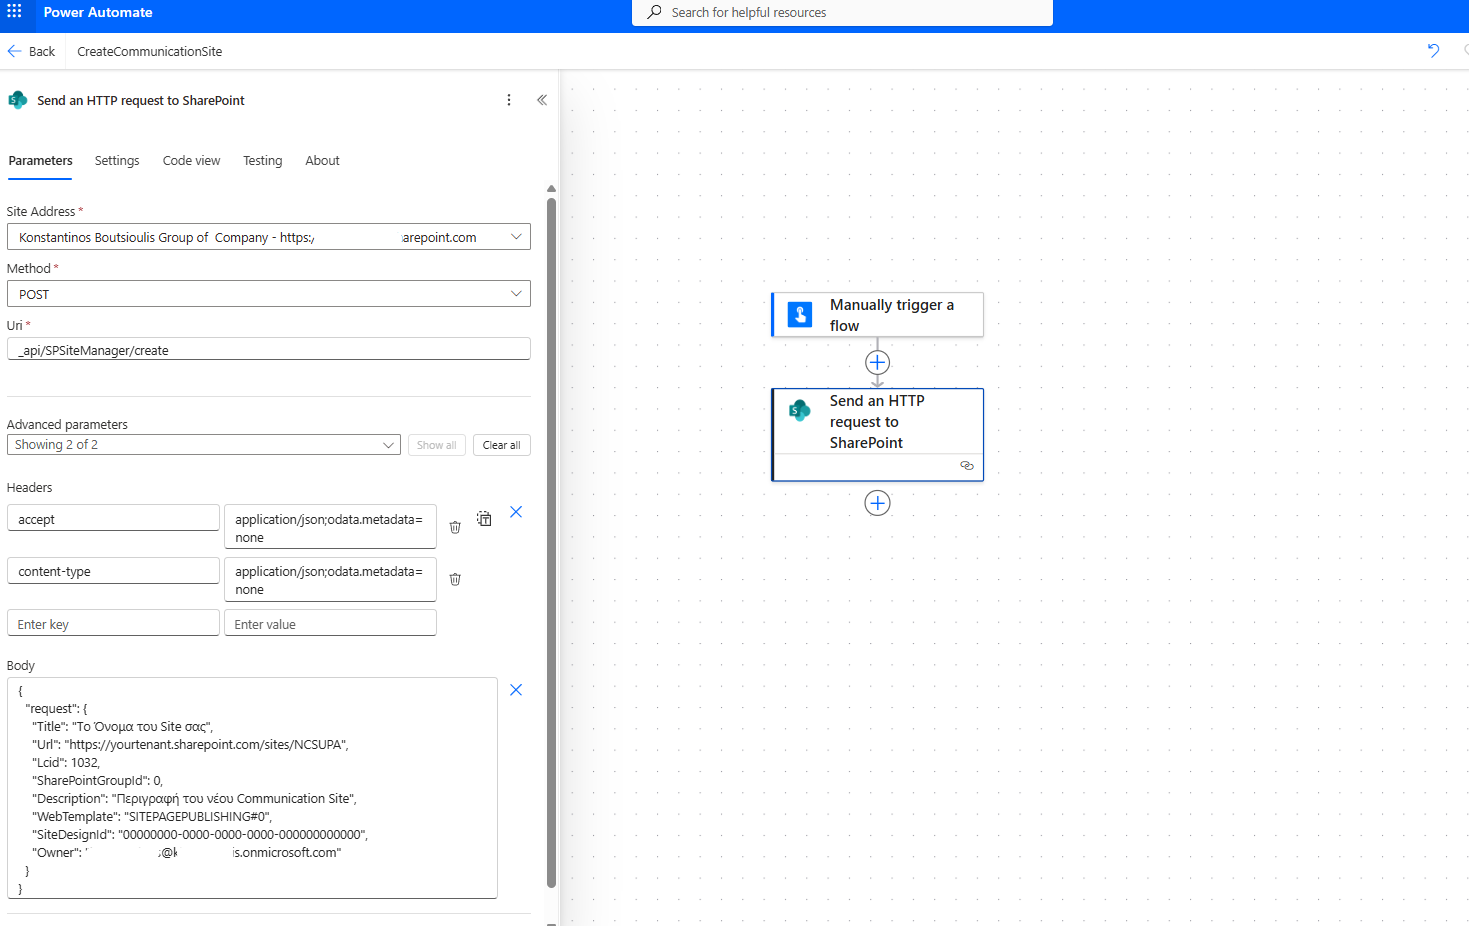
Select a new action of type Send an HTTP request to SharePoint.
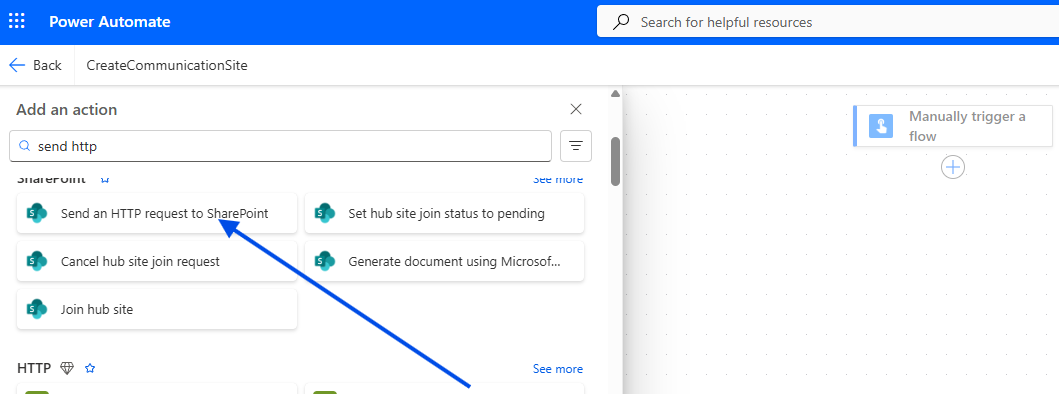
Fill in the right-hand panel with the following details:
Site Address: URL of your site
Method: POST
Uri:
_api/SPSiteManager/createHeaders:
accept:application/json;odata.metadata=nonecontent-type:application/json;odata.metadata=none
Body:
{"request": {"Title": "Your Site Name","Url": "https://mytenant.sharepoint.com/sites/NCSUPA","Lcid": 1032,"SharePointGroupId": 0,"Description": "Description of the new Communication Site","WebTemplate": "SITEPAGEPUBLISHING#0","SiteDesignId": "00000000-0000-0000-0000-000000000000","Owner": "admin@mytenant.onmicrosoft.com"}}
Save the Automate flow.
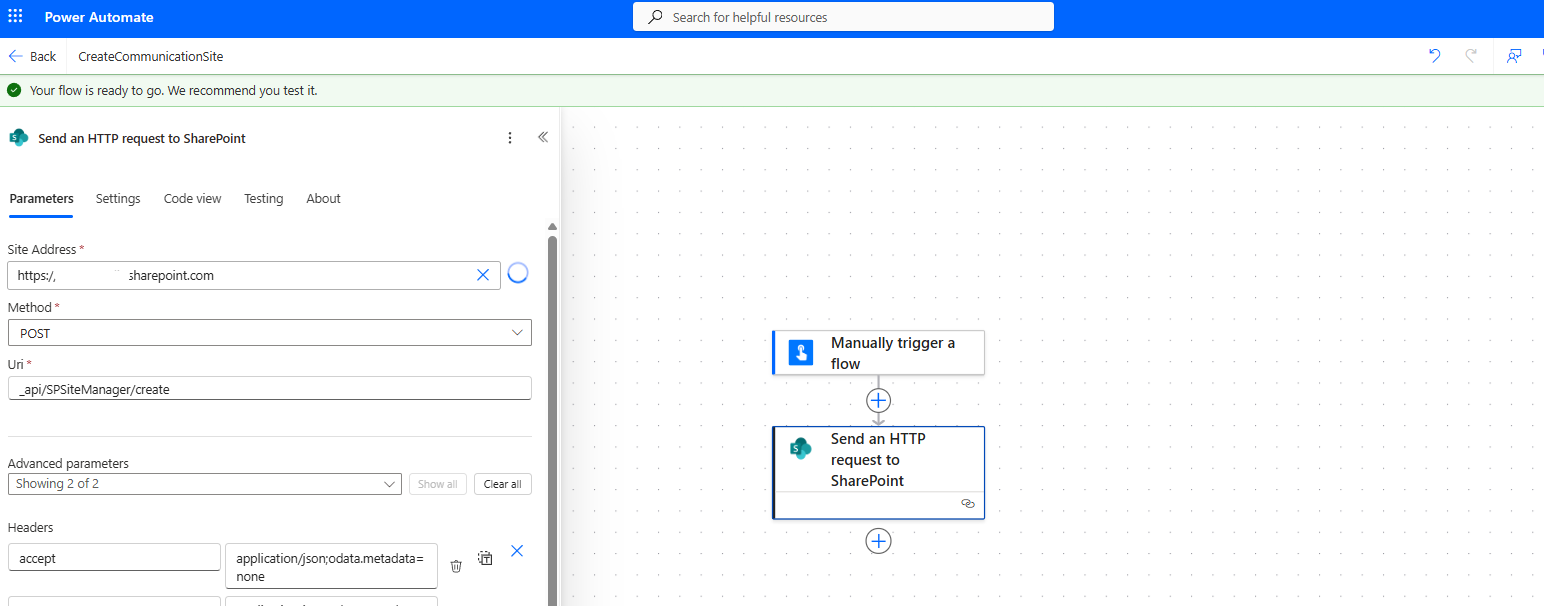
Then test it to confirm everything works properly.
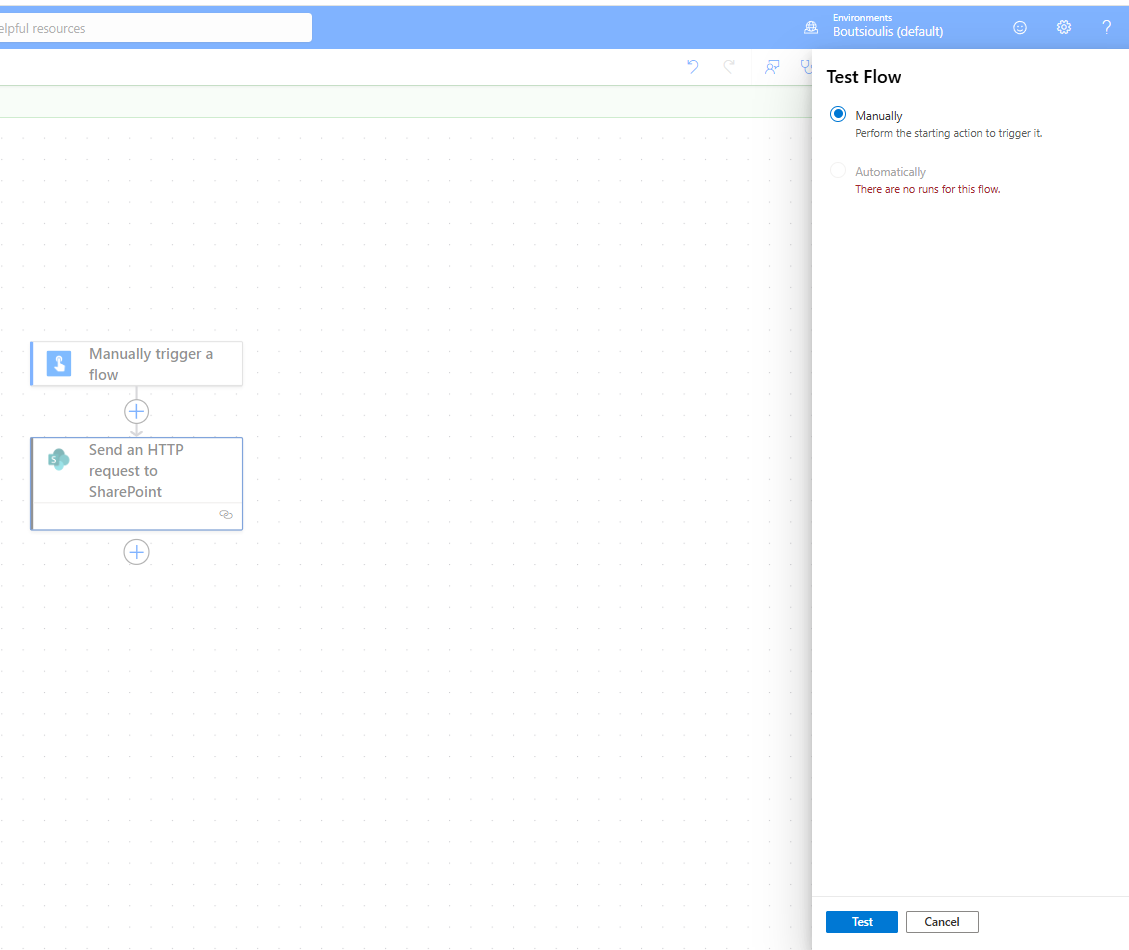
Select Run Flow.
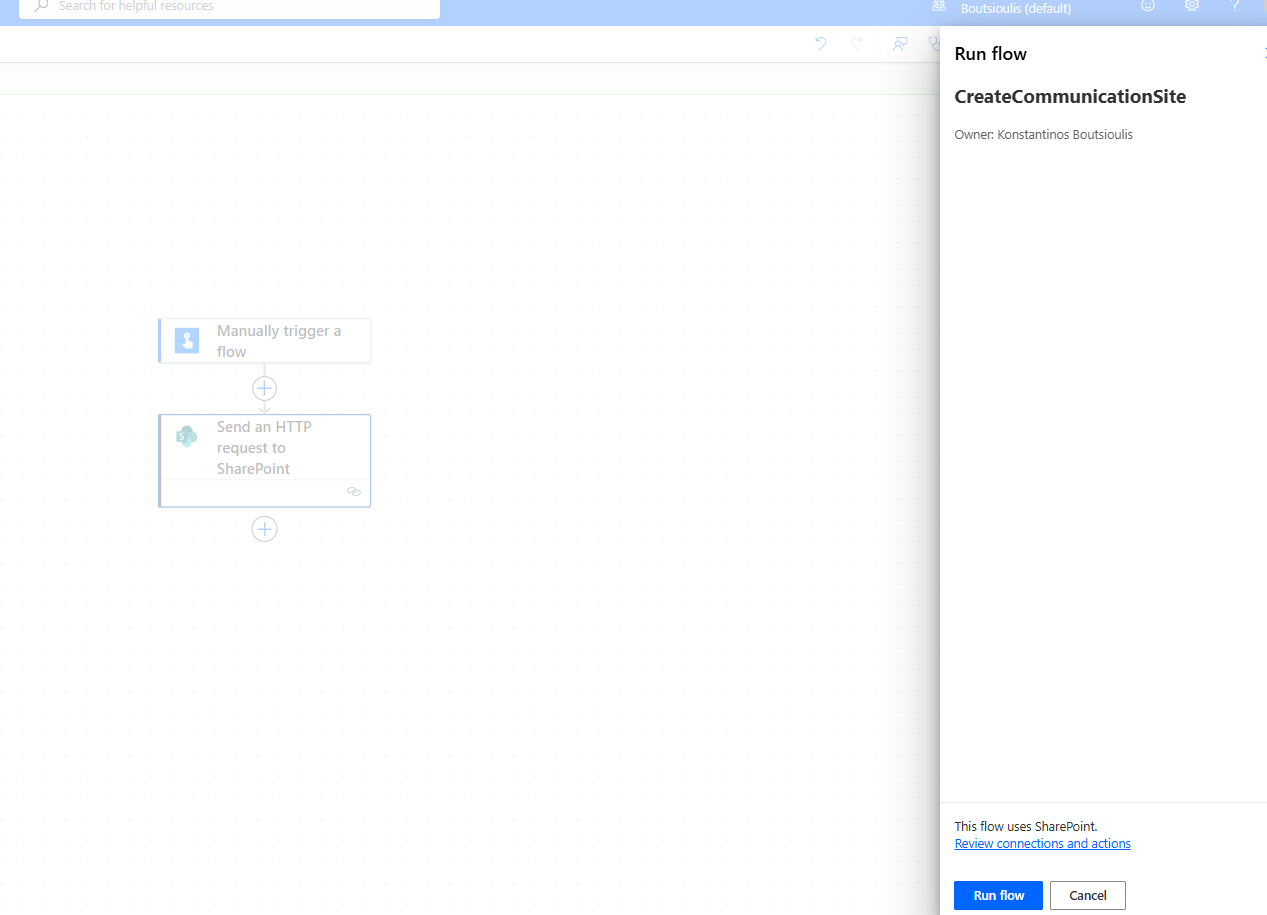
And it executes successfully.

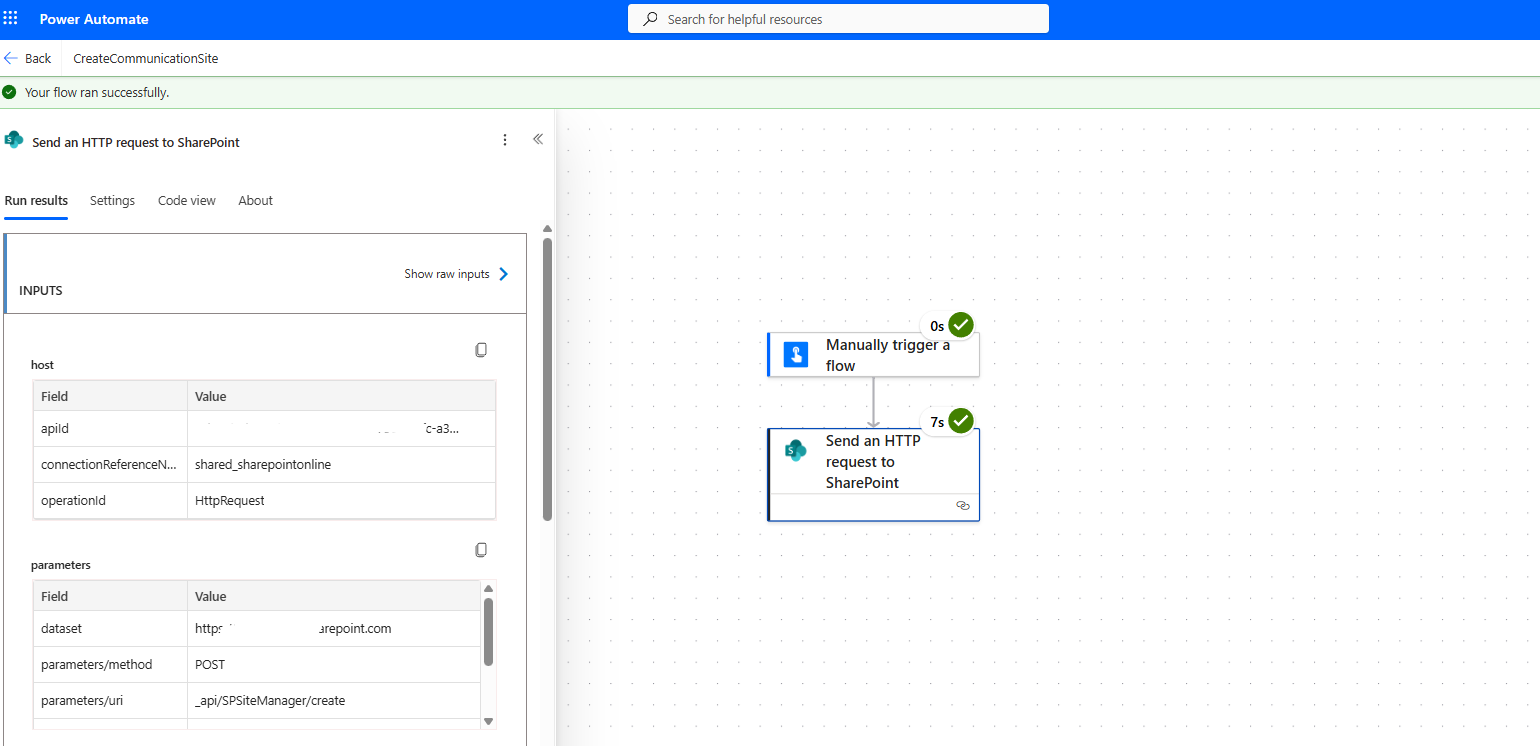
The site has now been created.