
In today’s post we will see how we can create an alert for a specific file in a SharePoint library.
First, we must have an active M365 subscription.
Then, we select the SharePoint site that hosts the library and, consequently, the folder that contains the file we are interested in.
Next, we choose to open Power Automate from the home page.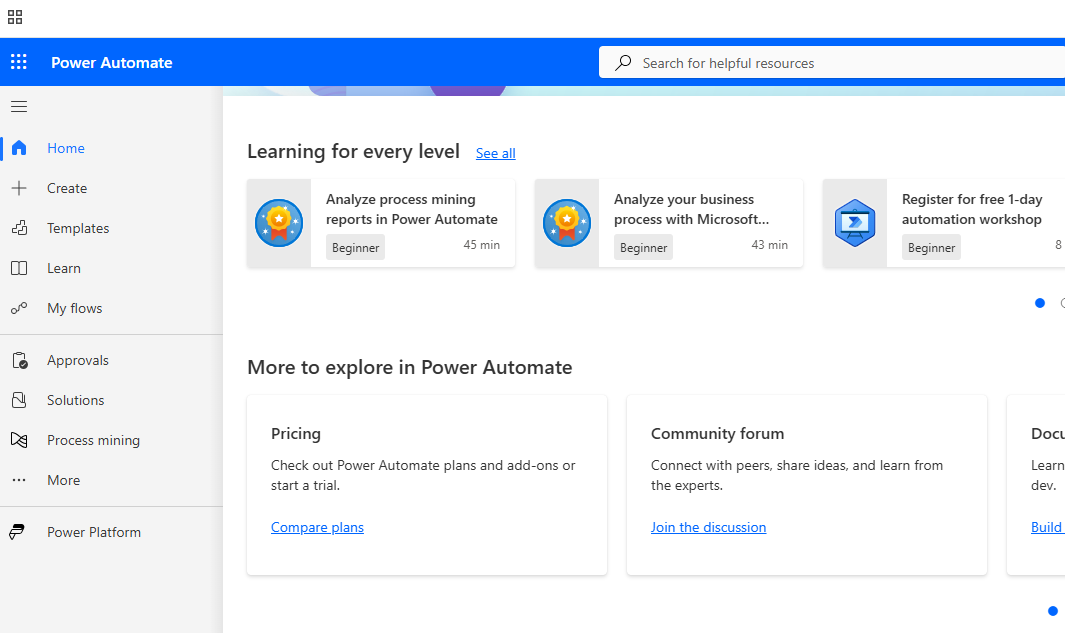
Then, we select Create at the top left.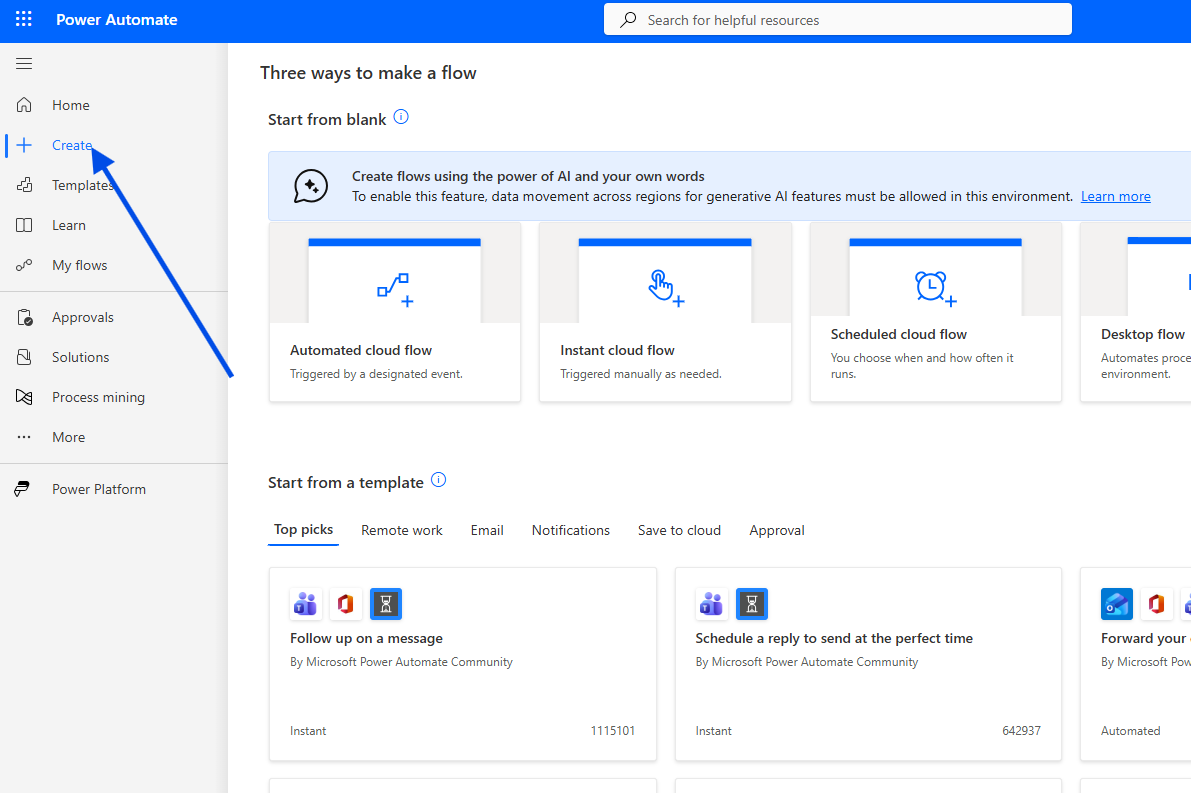
In the next step, we choose Automated Cloud Flow.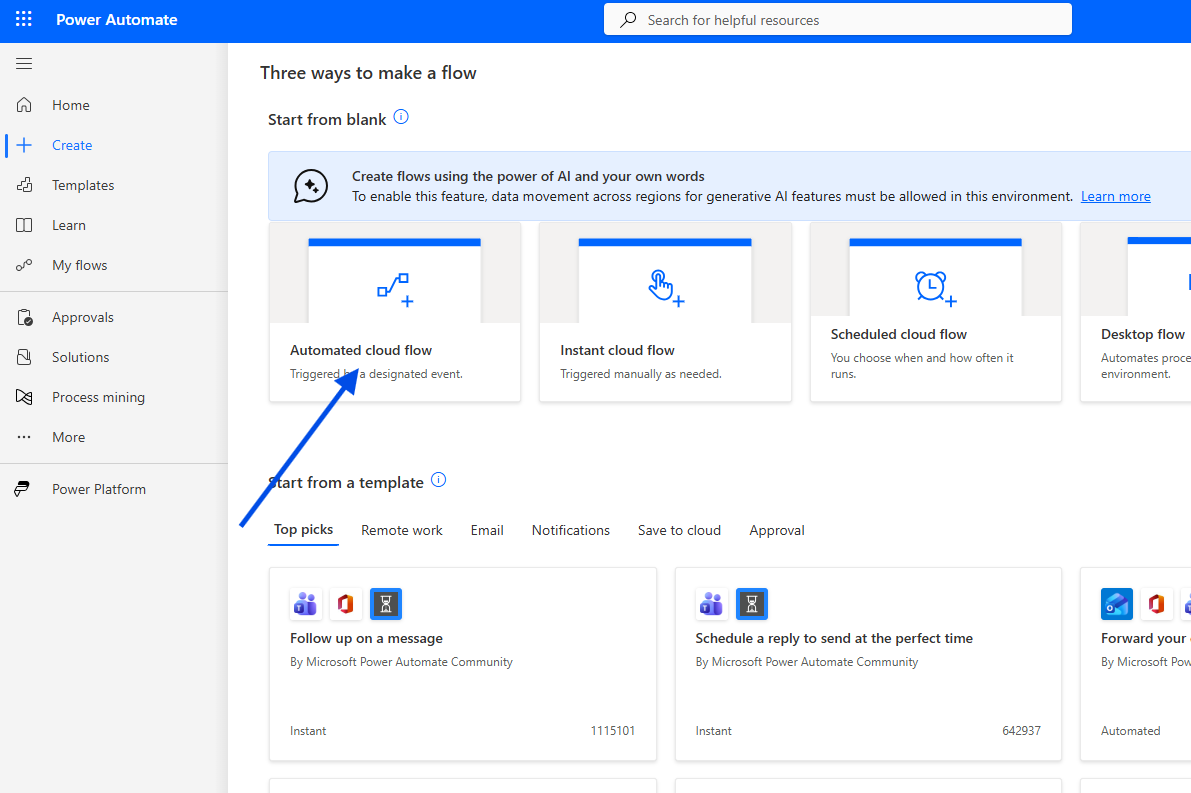
We then need to give the automation a name and select the initial trigger, which is When a file is created or modified (Properties Only).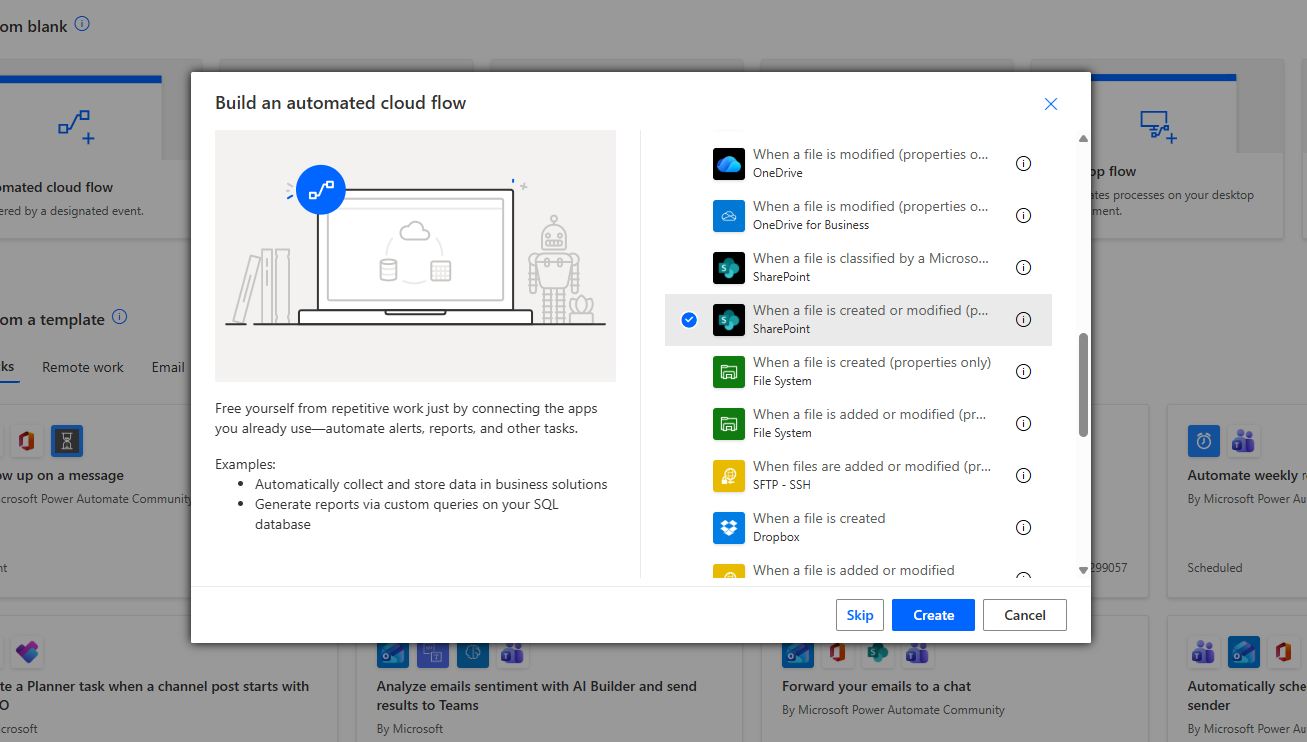
In the next step, we provide the site address that hosts the library containing the folder, and in Library name we enter the name of the library that contains the file. In Folder, we enter the folder where the file is located. If the file is in the top-level folder, we leave this field empty.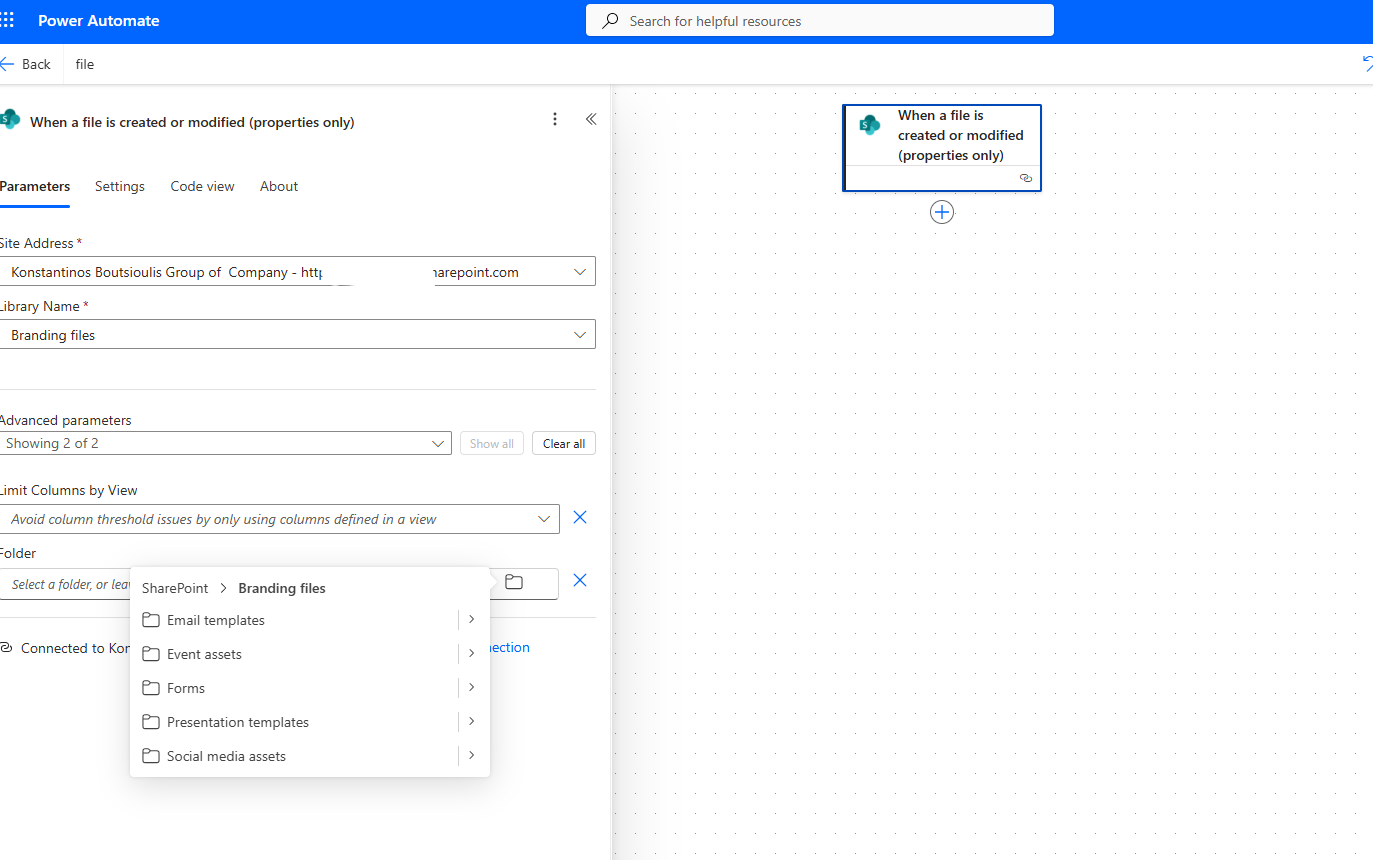
Next, we add an Initialize variable action of type string, where we store the property name coming dynamically from the trigger (When a file is created or modified) and the file extension we want.
Then, we add another Initialize variable action of type string, assign it a name, and set the full file name including its extension.
The next step is to add a Condition where we check whether the file name is equal to the name of the file that was modified.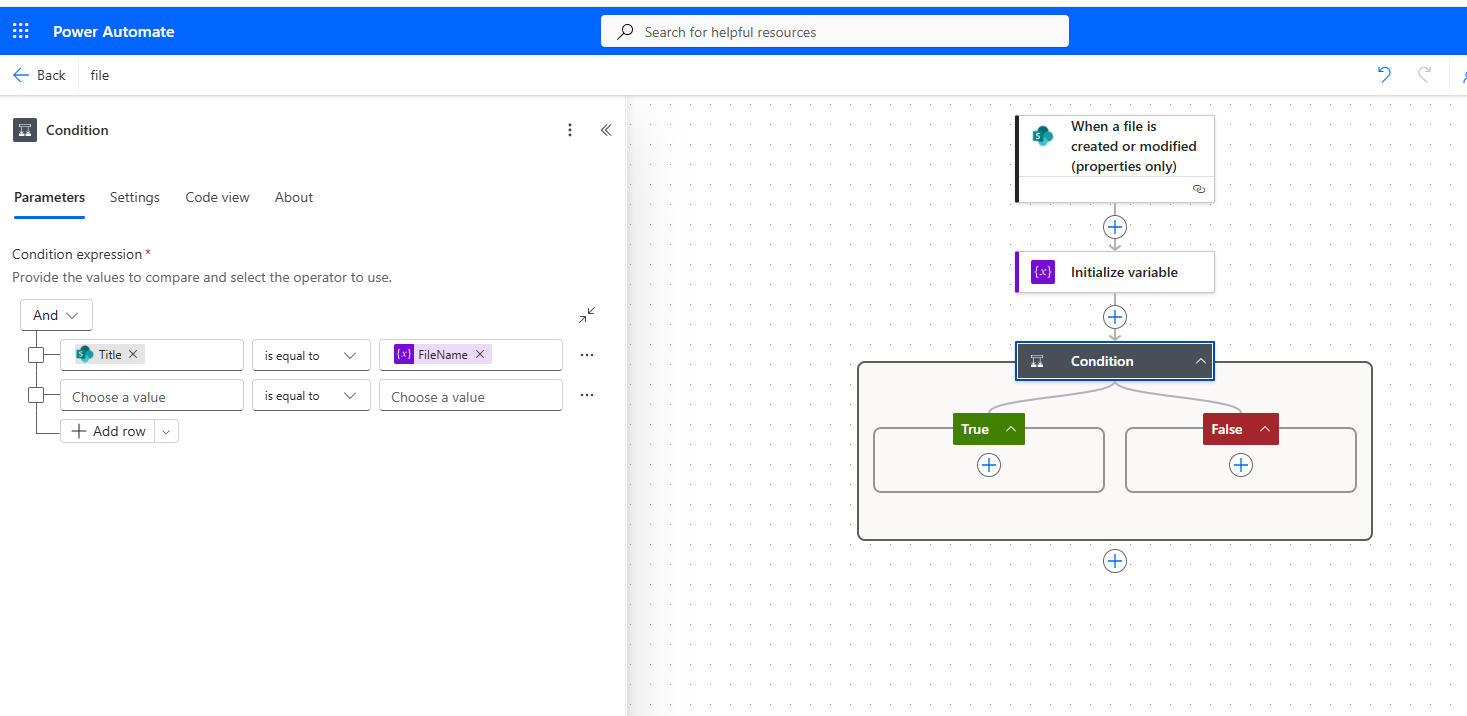
Under the True branch, we insert a Send an email (V2) action, so that every time the condition is true—meaning a change has been made to the file—an email is sent. There, we define who will receive the email and what the body of the message will say.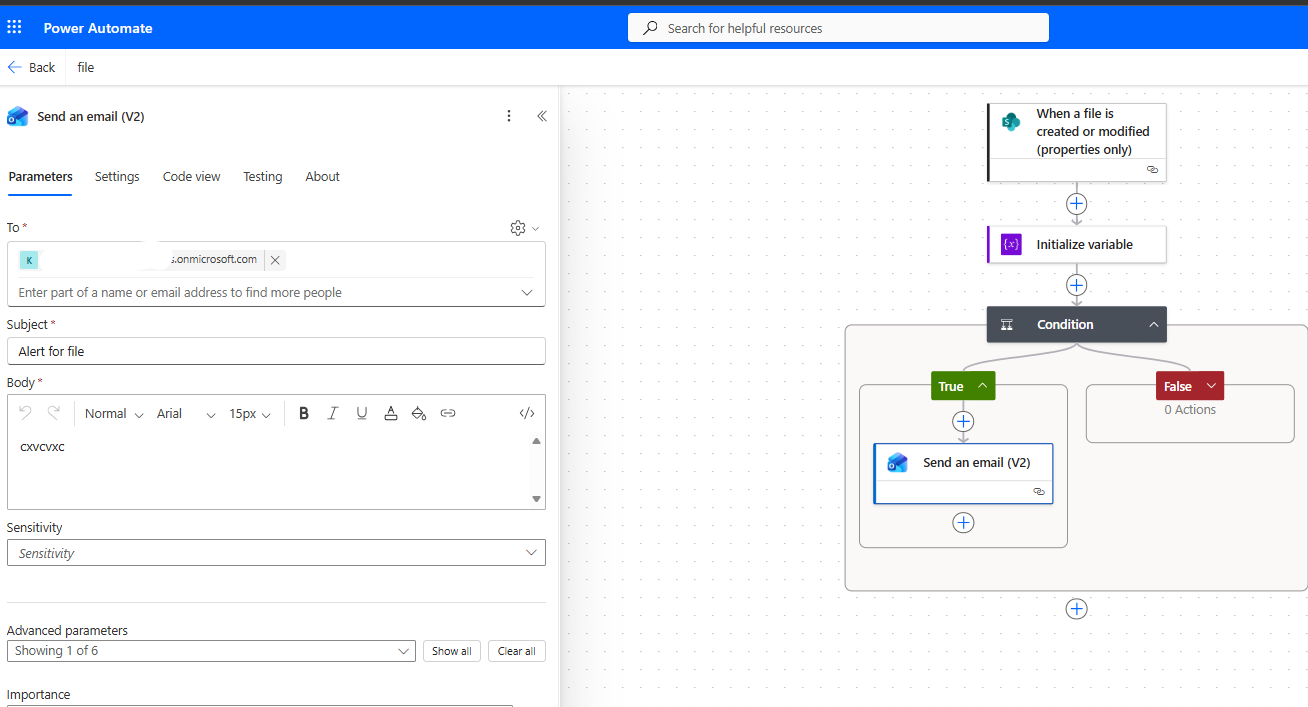
We save the flow.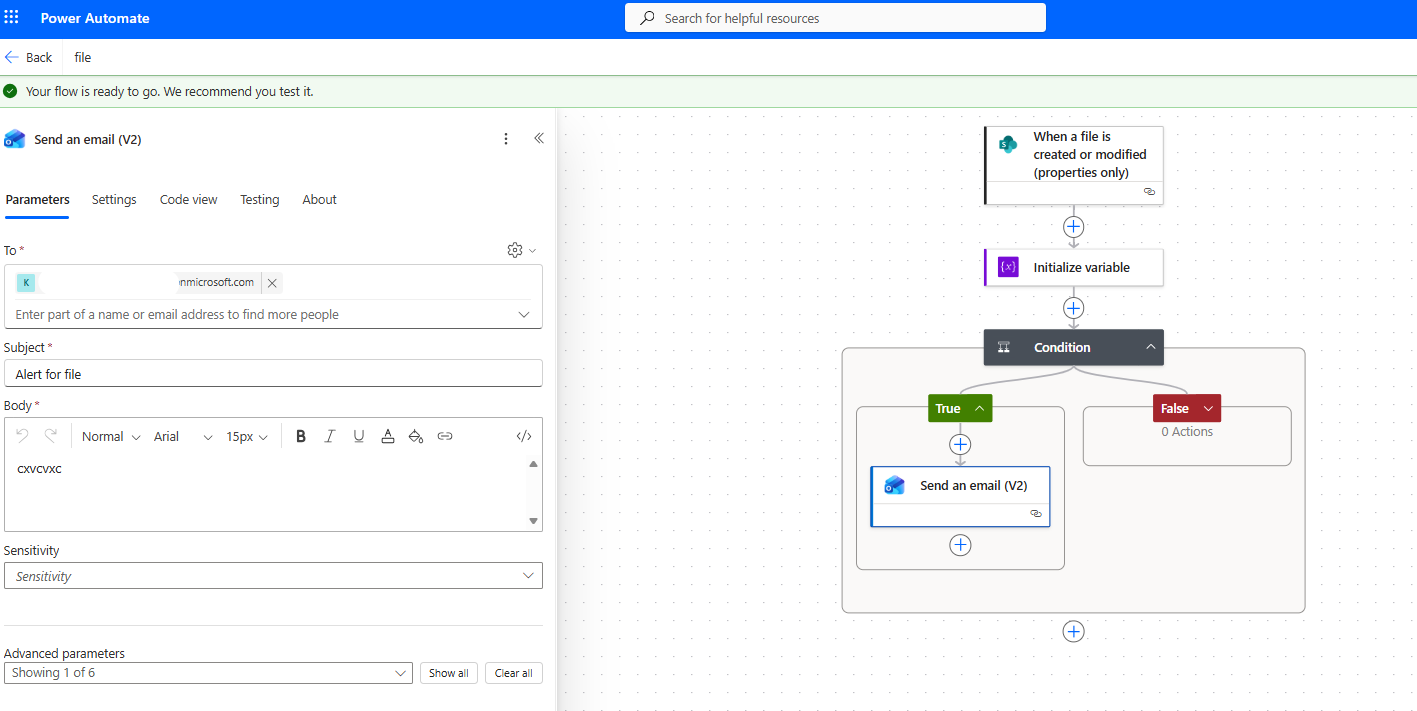
We upload a test file, e.g., test.txt, to the folder we are monitoring.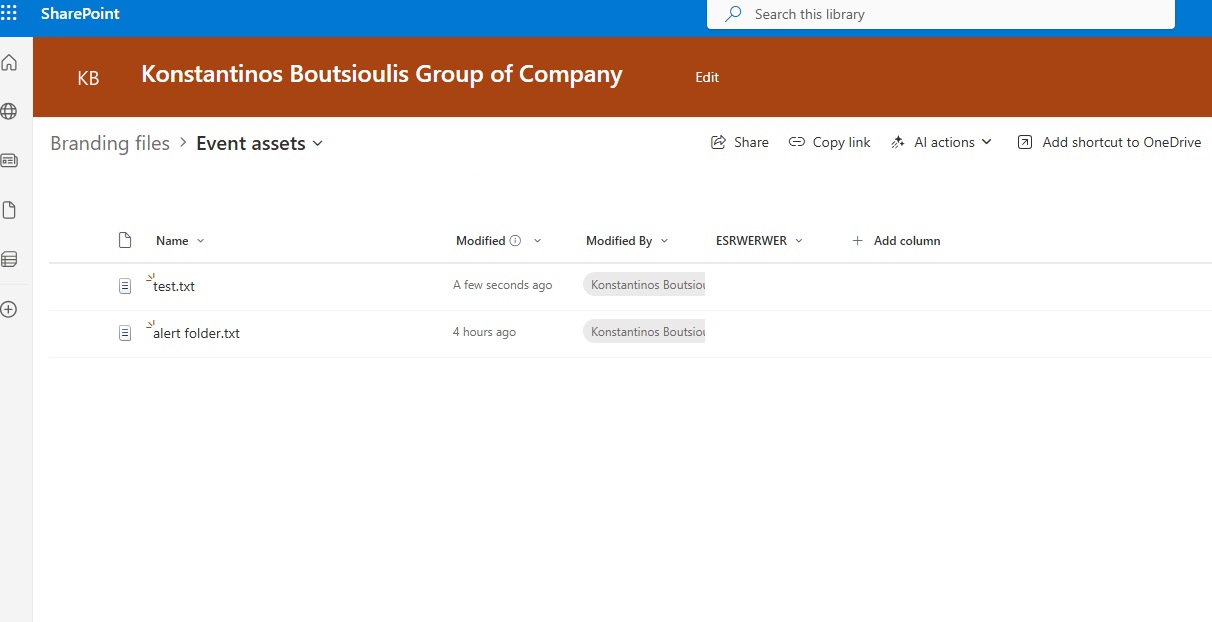
Then we run a manual test and modify something in the uploaded file.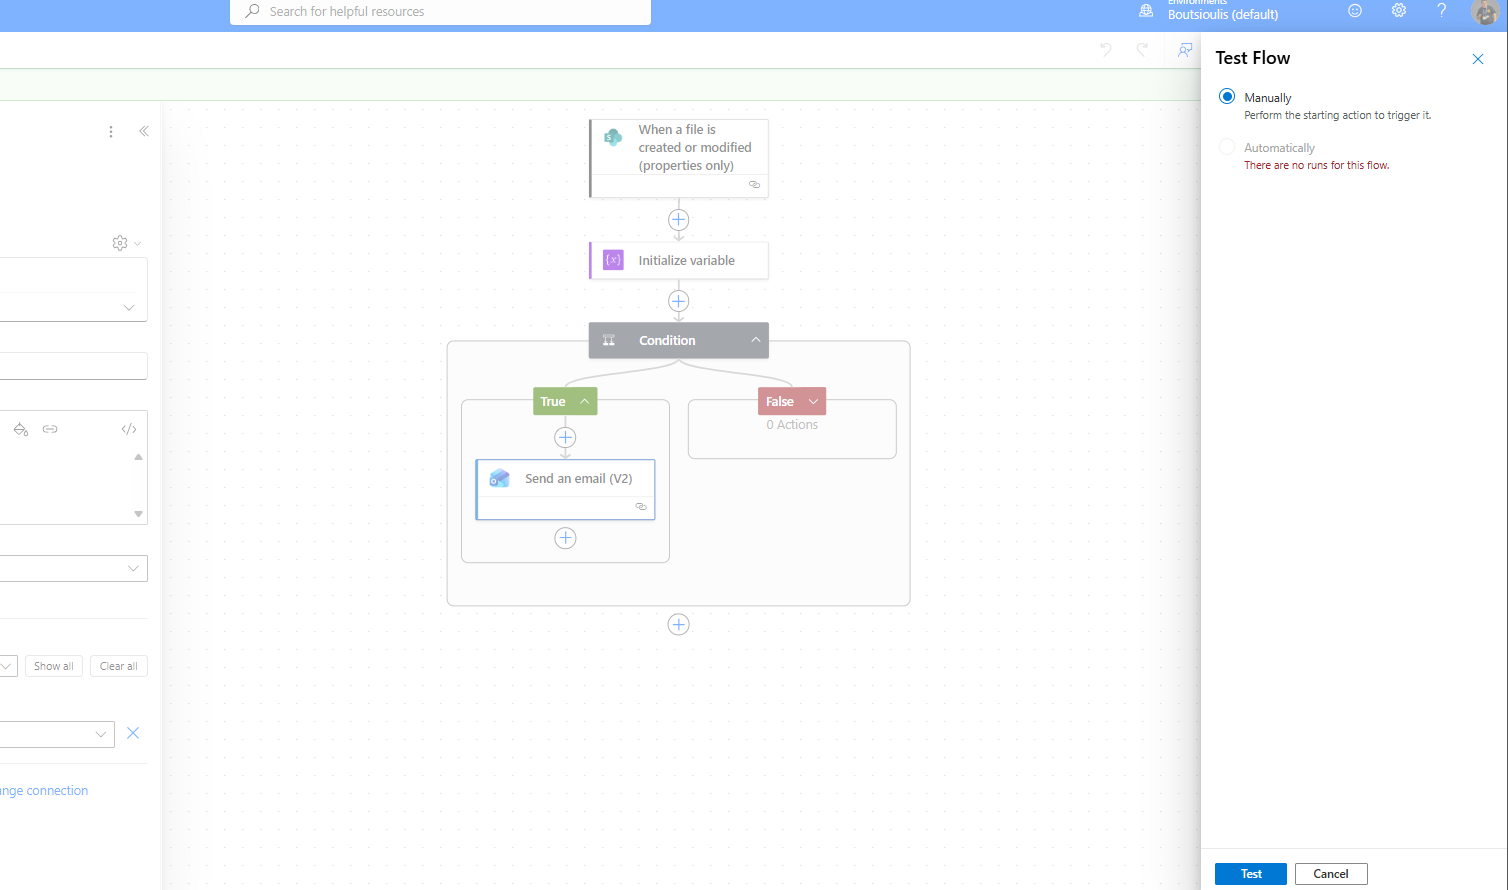
Indeed, the automation runs successfully.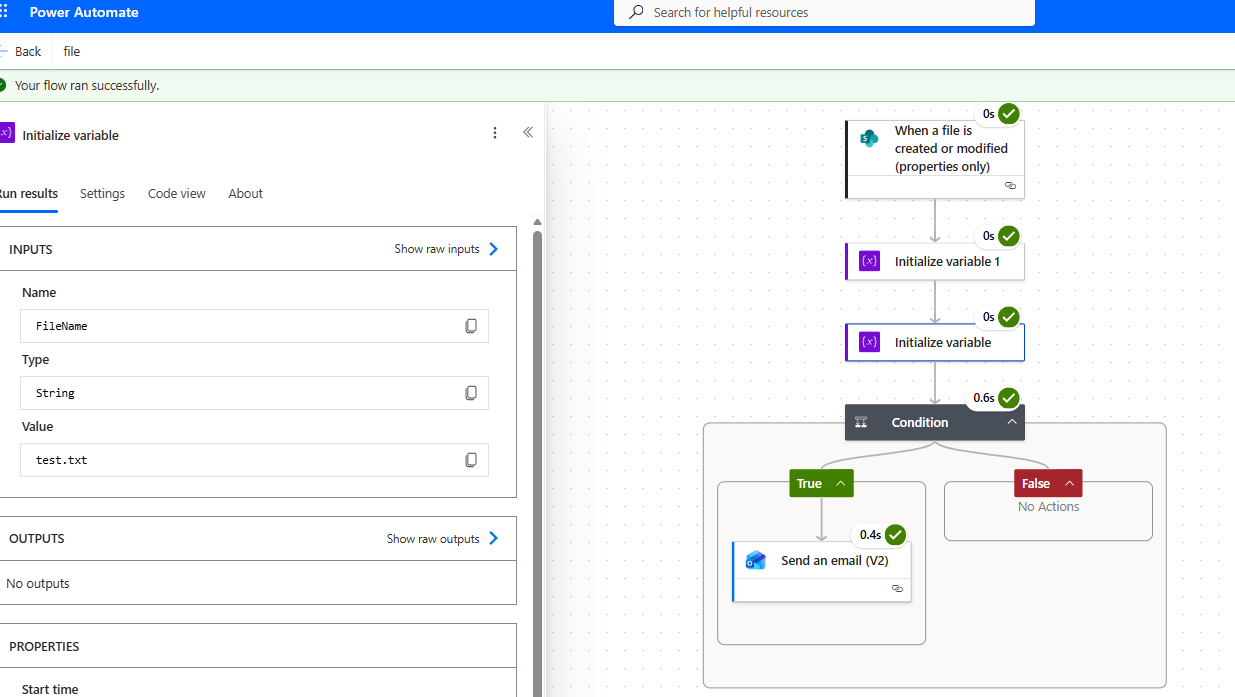
And as you can see, the email notifying us of the change has also arrived.