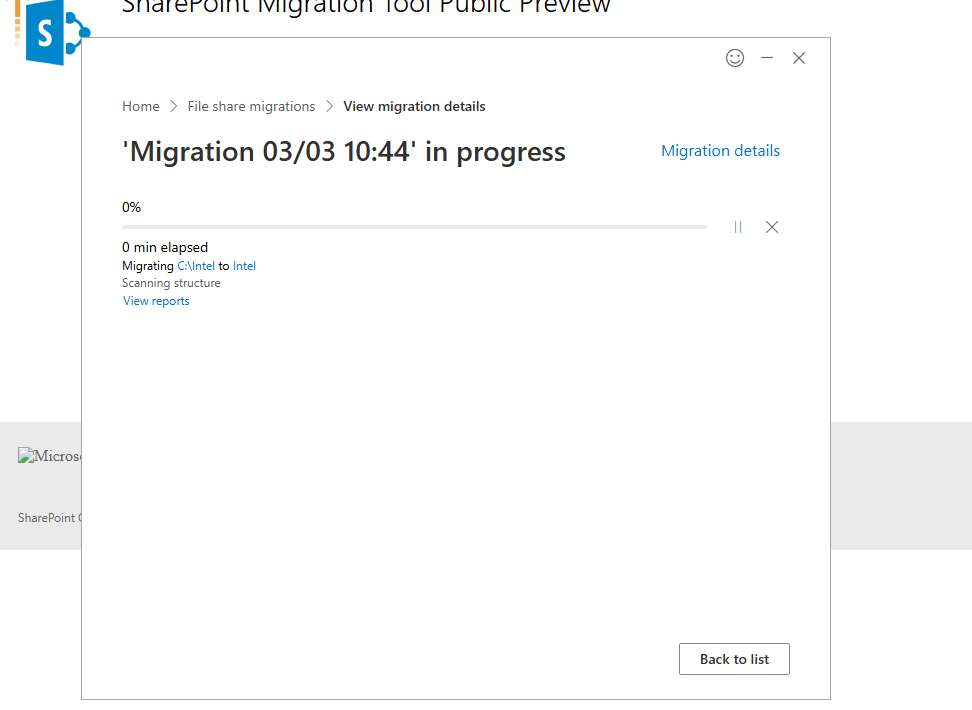
Today’s post will show how we can migrate a folder along with its contents from a SharePoint On‑Premises environment to SharePoint Online.
To perform this migration, we will need the SharePoint Migration Tool (SPMT).
We open SPMT and enter our SharePoint Online credentials.
From the program, we select Add new migration under the File Share section.
Then we choose Single source URL.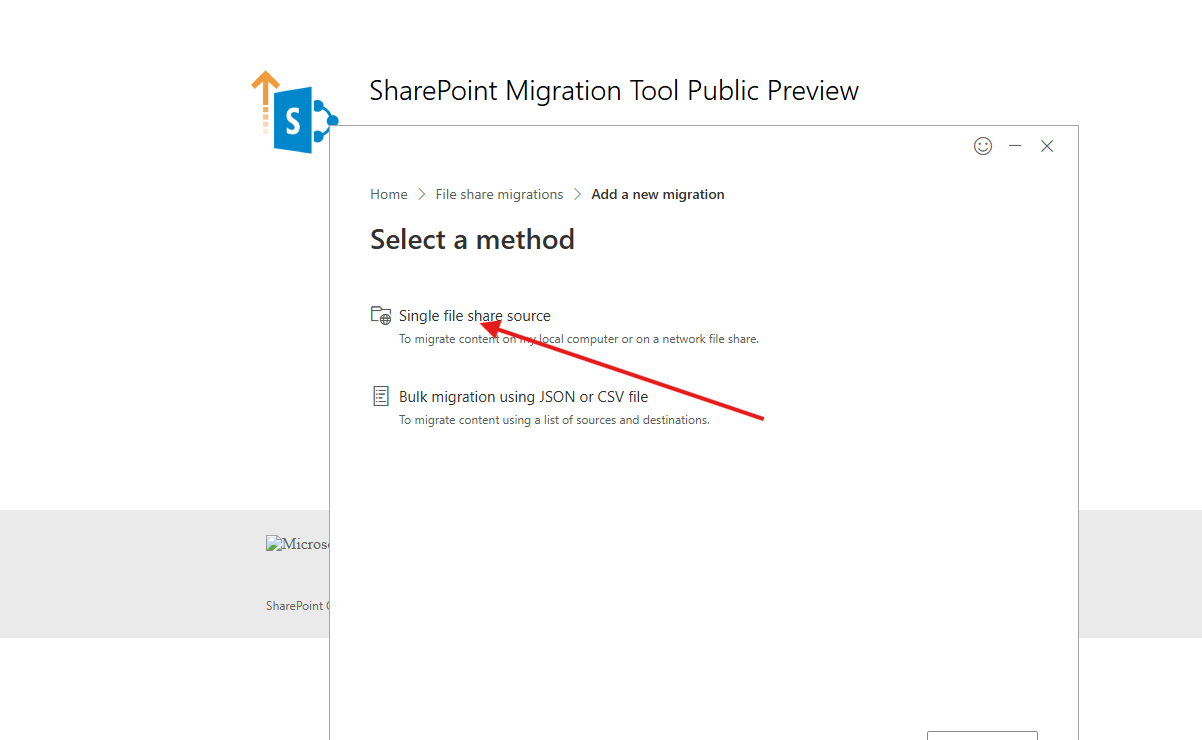
Next, we choose Single file share source.
We then enter the URL of the folder we want to migrate.
Here we also have the option to either migrate only the folder contents or the folder AND its contents, and then click Next.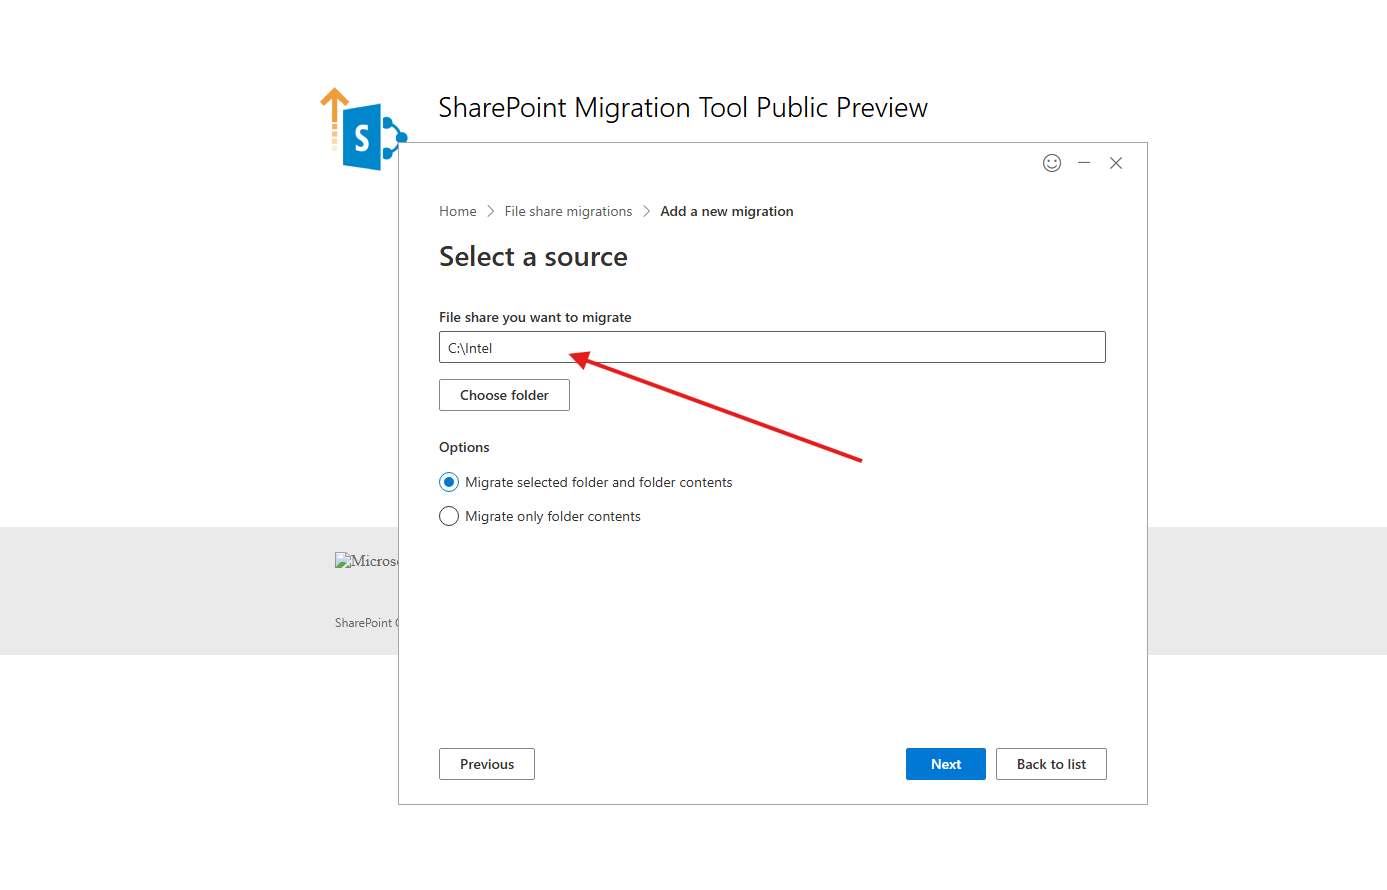
Next, we select SharePoint.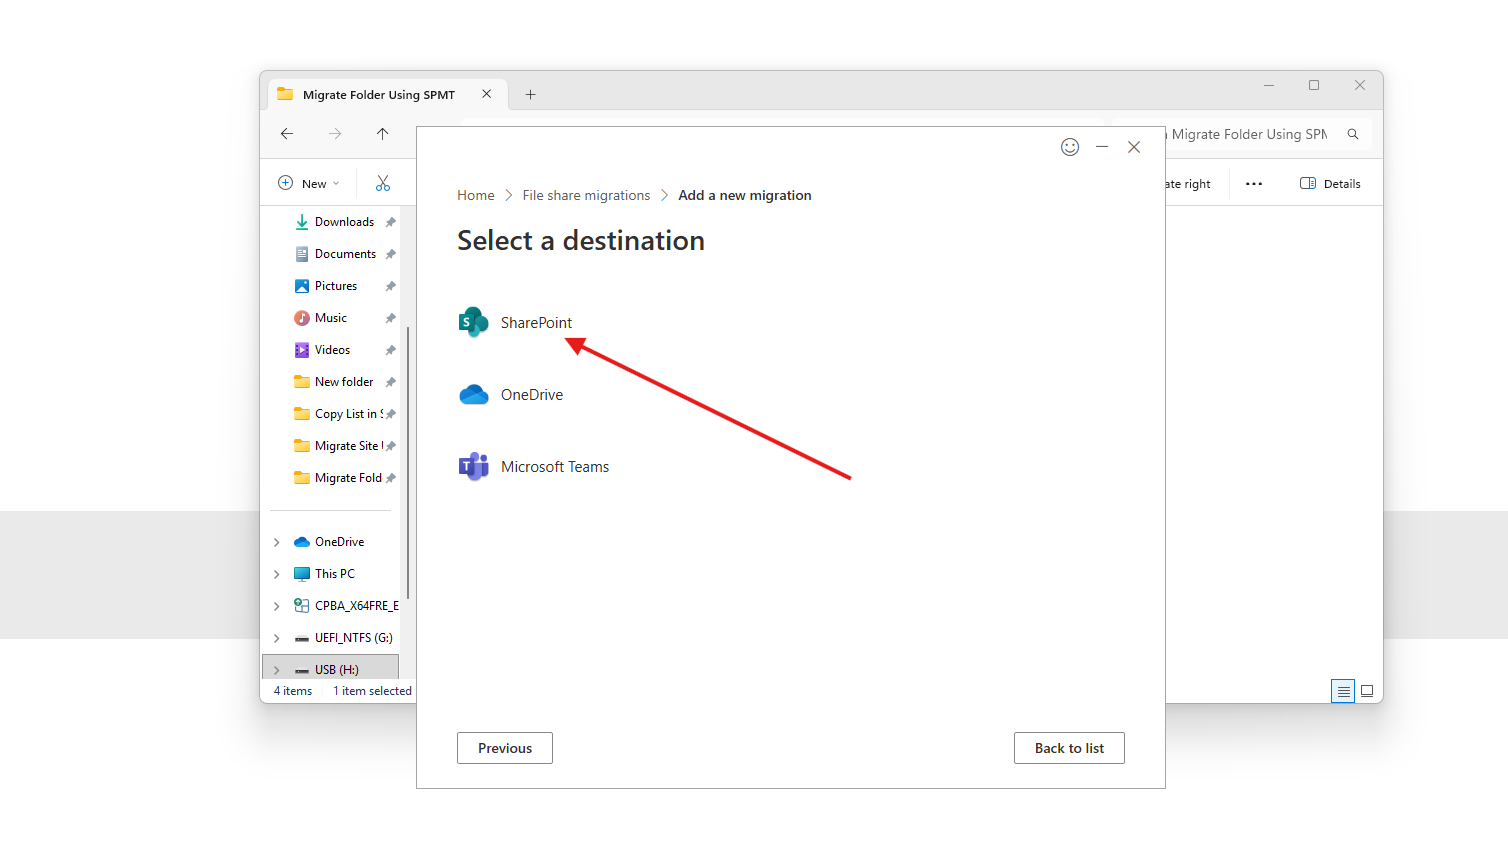
We enter the site where we want the data to be transferred in the online environment.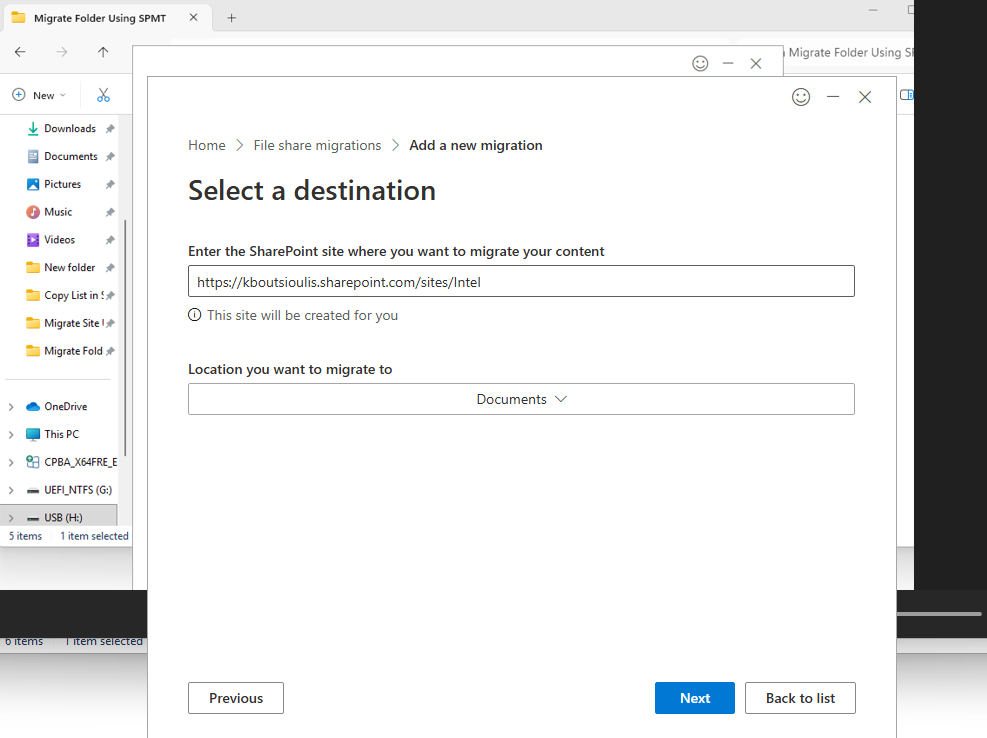
Then we must provide a name for the Migration link.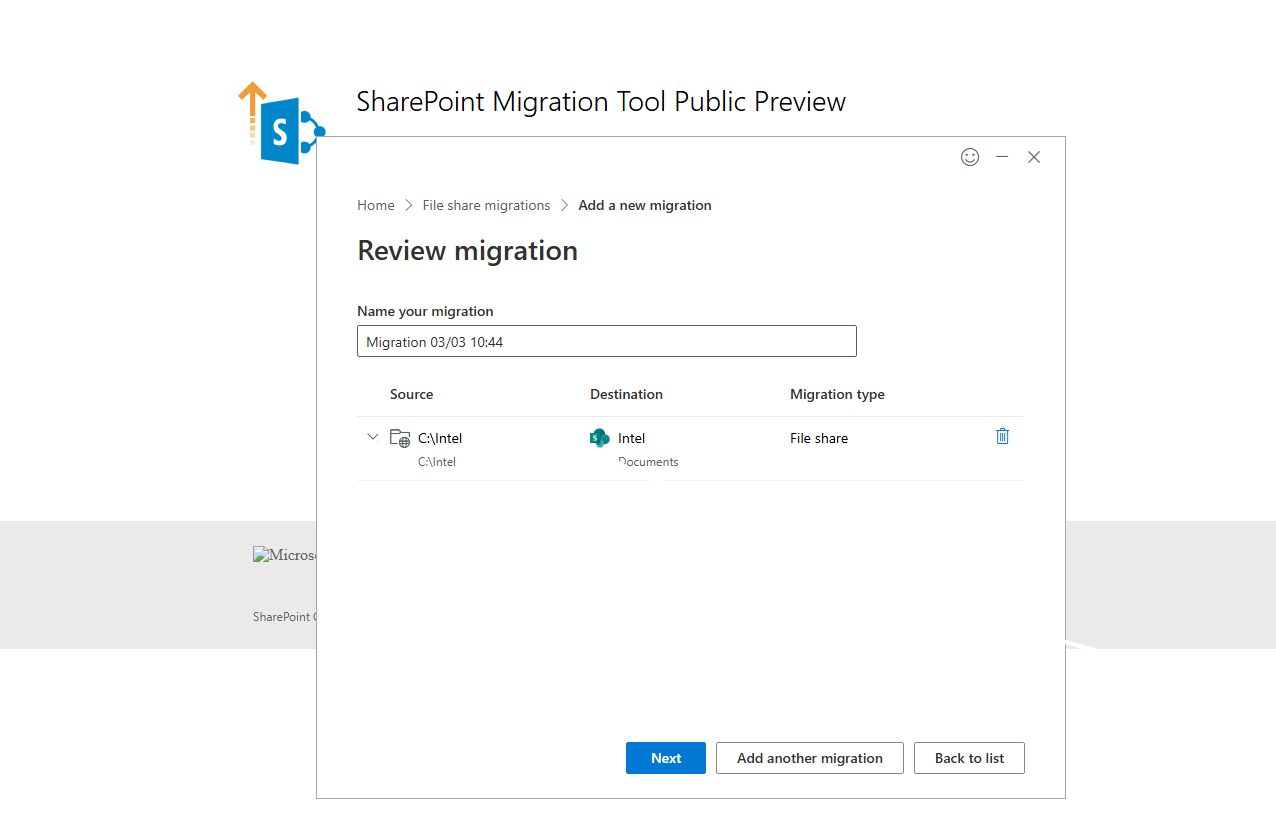
We then see the Review settings screen, where we can adjust which toggles we want to enable or disable.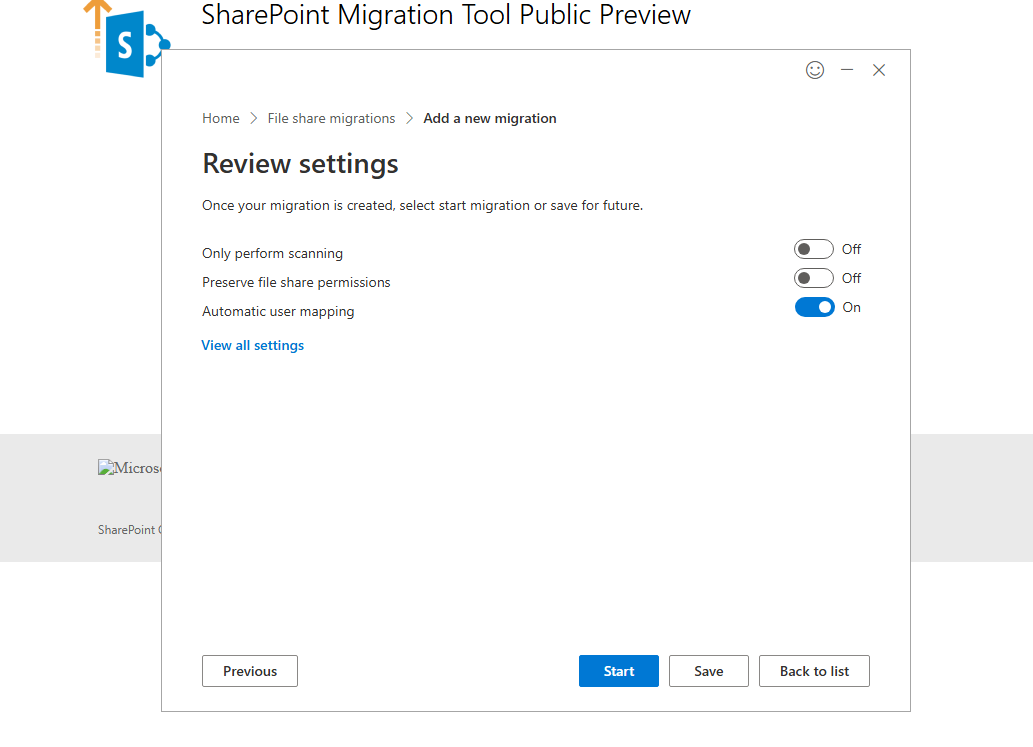
For additional configuration options, we select View all settings.
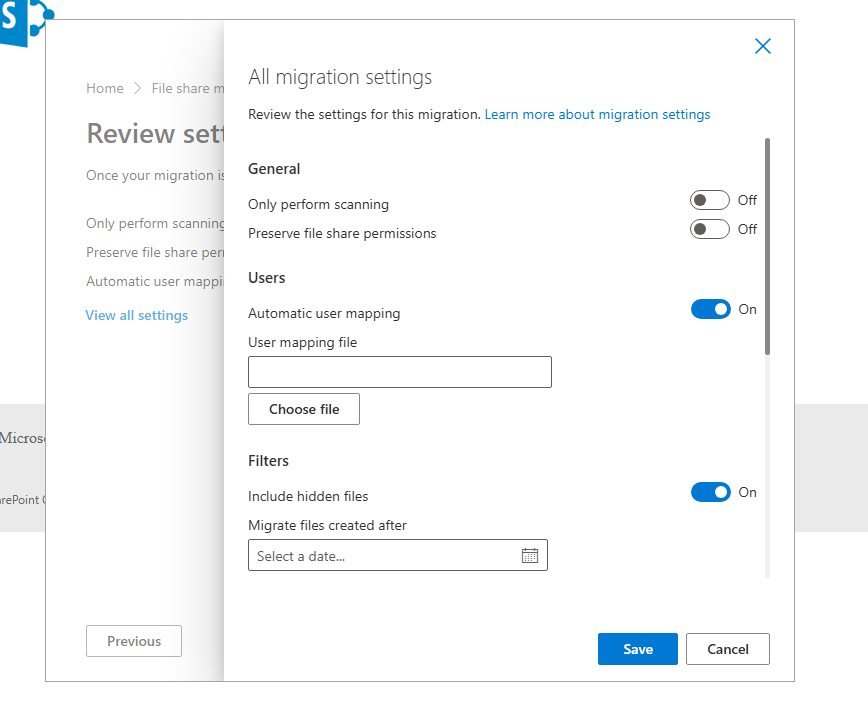
Here we gain access to more advanced options.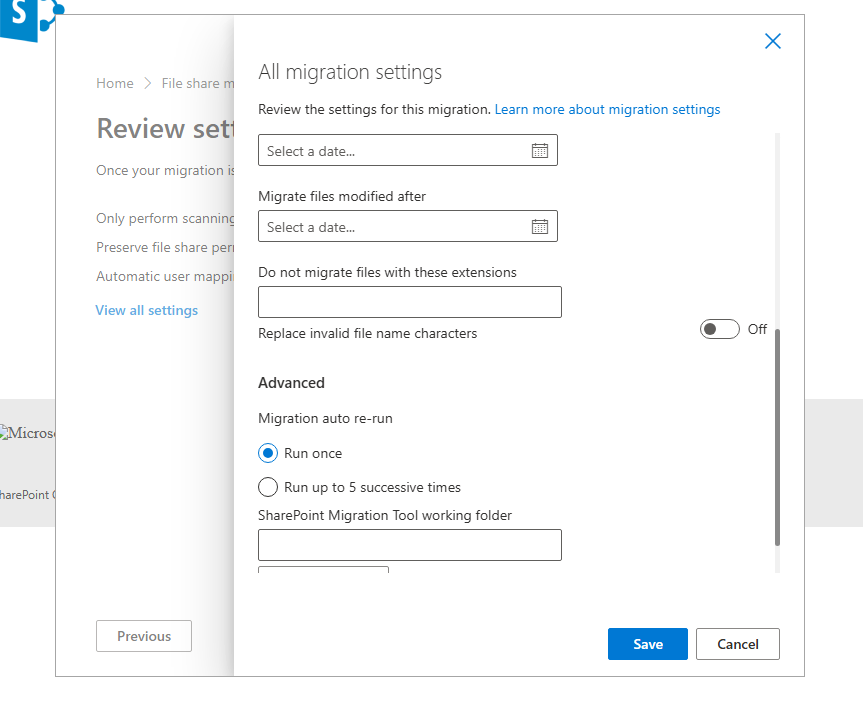
You will notice several options, such as:
- keeping version history
- preserving permissions if users from On‑Prem can be mapped to Online
- migrating files based on a specific date range
- migrating metadata and content types
I should highlight that many times you may encounter various errors during migration—these usually relate to the way the NAS or file share is structured on‑premises.
For example:
- custom columns
- managed metadata
- custom solutions implemented with 3rd‑party tools
These elements can affect the migration process.